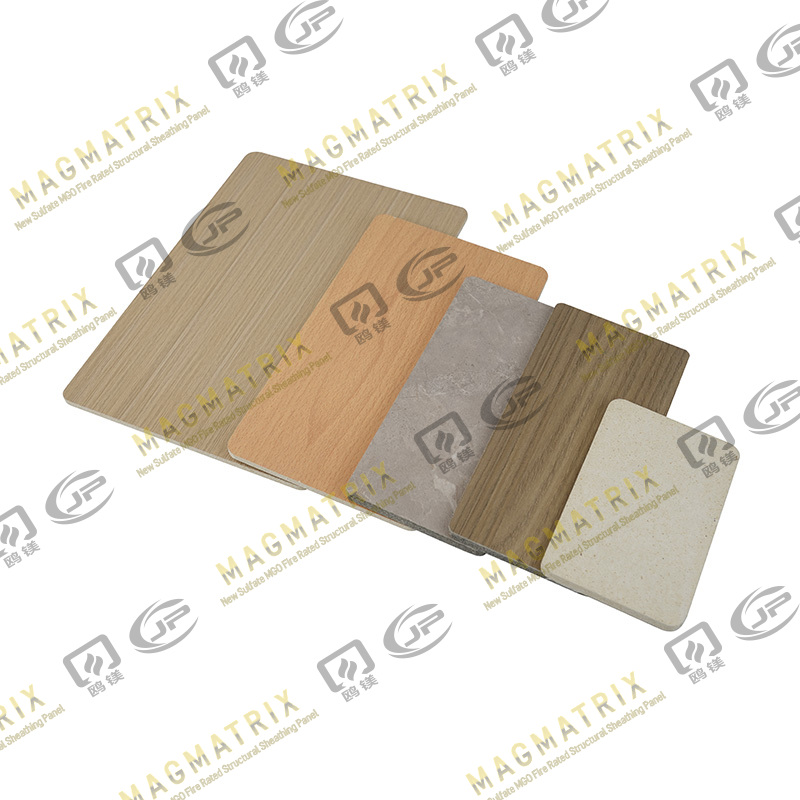
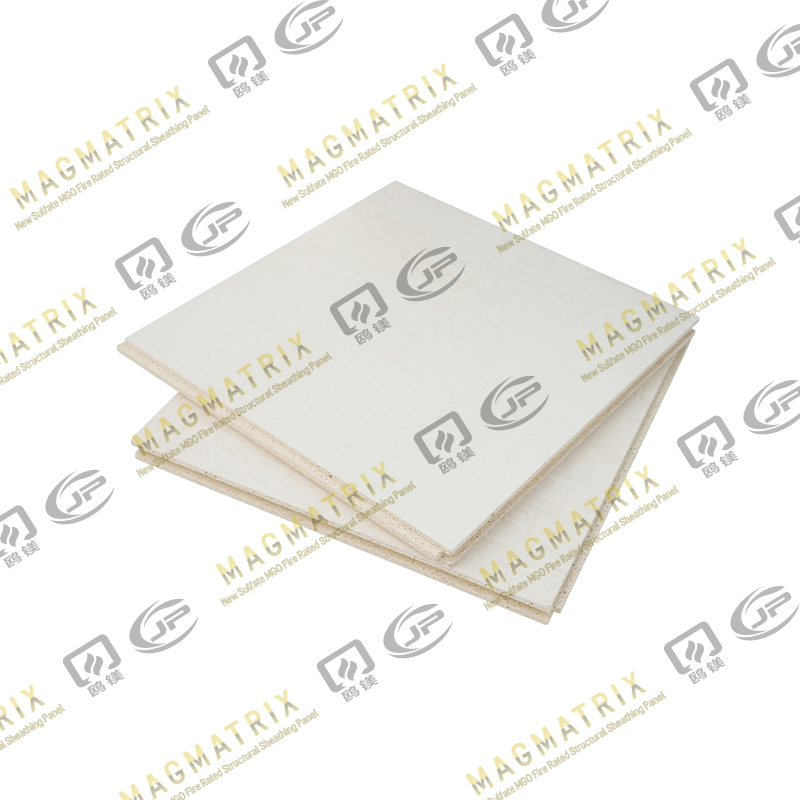
Magnesium oxide boards, commonly known as MgO board, have become a popular choice in construction due to their fire resistance, water resistance, eco-friendliness, and structural versatility. While many builders are familiar with installing drywall or plywood over metal or wood studs, the question arises: Can MgO boards be installed over metal or wood studs? Understanding the proper methods, benefits, and considerations is crucial for ensuring a durable, safe, and long-lasting wall or ceiling system.
What Are MgO Boards?
MgO boards are made primarily from:
- Magnesium oxide (MgO)
- Magnesium chloride (MgCl₂)
- Fillers such as perlite, wood flour, or fly ash
These materials are mixed and cured to form rigid, non-combustible panels. MgO boards are valued for their:
- Fire resistance
- Mold and mildew resistance
- Moisture resistance
- Strength and dimensional stability
Unlike gypsum board or wood-based sheathing, MgO boards are inorganic, which gives them unique installation and performance characteristics.
Types of Studs
Before exploring installation methods, it is important to understand the two common types of studs:
1. Wood Studs
Wood studs are traditional framing members made from dimensional lumber, usually 2x4 or 2x6 inches. They are easy to work with and widely available, but they are prone to:
- Termite damage
- Moisture-related warping or rot
- Fire susceptibility
MgO boards provide an effective solution over wood studs because they enhance durability and fire resistance.
2. Metal Studs
Metal studs are typically made from galvanized steel and are common in commercial construction or areas where wood studs are less practical. Advantages of metal studs include:
- Resistance to termites and rot
- Uniform dimensions
- Fire resistance
However, metal studs present challenges in fastener selection and thermal bridging, which must be addressed when installing MgO boards.
Can MgO Boards Be Installed Over Wood Studs?
Yes, MgO boards can be successfully installed over wood studs. In fact, this is one of the most common installation methods for both interior and exterior walls. The following considerations are key:
1. Fasteners
MgO boards are denser and harder than gypsum board, so selecting the correct fasteners is essential:
- Corrosion-resistant screws or nails are recommended, especially in humid areas.
- Screw spacing is typically 8–12 inches along wood studs for optimal support.
- Pre-drilling holes may be necessary for thicker boards (12mm or more) to avoid cracking.
2. Stud Spacing
Standard wood stud spacing of 16 or 24 inches on center (OC) works well. Wider spacing may require additional blocking or support to prevent sagging or deflection.
3. Edge Support
- MgO boards should have continuous support along edges.
- End joints should meet on a stud rather than in mid-air.
- Butt joints should be staggered to improve wall strength.
4. Moisture Considerations
While MgO boards resist moisture better than wood or gypsum, it is still important to:
- Maintain a gap at the floor and ceiling to prevent water wicking.
- Avoid direct contact with soil or standing water.
- Apply sealant around openings to prevent moisture ingress.
Can MgO Boards Be Installed Over Metal Studs?
MgO boards can also be installed over metal studs, but the approach differs slightly due to the rigidity and thin profile of metal framing.
1. Fasteners
- Self-tapping screws designed for metal are necessary.
- Screw length should penetrate at least 3/8 inch into the metal stud for adequate holding.
- Avoid over-tightening, which can crack the MgO board.
2. Stud Spacing
- Standard metal stud spacing of 16 or 24 inches OC is suitable.
- Thicker MgO boards may require closer spacing (16 inches) to minimize flexing or bowing.
3. Thermal Considerations
- Metal studs conduct heat and cold more efficiently than wood, creating potential thermal bridges.
- Installing insulation behind MgO boards or using resilient channels can reduce thermal transfer and improve energy efficiency.
4. Edge Support and Joint Treatment
- As with wood studs, ensure edges align with studs.
- Use proper joint tape and filler compatible with MgO boards.
- Avoid leaving unsupported panels, especially at corners or around openings.
Installation Steps for MgO Boards Over Studs
Whether using wood or metal studs, the installation process follows similar steps:
- Preparation
- Measure and mark stud locations.
- Cut MgO boards to size using a carbide-tipped saw blade or scoring tool.
- Ensure the work area is dry and free of debris.
- Fastening
- Align the board over the studs.
- Pre-drill holes if necessary, especially for thick boards.
- Drive screws evenly along studs, maintaining proper spacing.
- Joint Treatment
- Apply MgO-compatible joint tape over seams.
- Use a joint compound or filler designed for MgO boards.
- Sand or smooth after drying for a uniform surface.
- Finishing
- Prime and paint or apply a surface finish suitable for MgO boards.
- Seal edges around openings to maintain moisture resistance.
Advantages of Installing MgO Boards Over Studs
Installing MgO boards over wood or metal studs offers several advantages:
1. Enhanced Fire Resistance
MgO boards are non-combustible and significantly improve fire safety compared to wood or gypsum alone.
2. Durability
The boards resist cracking, swelling, and warping, even in high-humidity areas. This ensures long-term stability over both wood and metal studs.
3. Pest Resistance
MgO boards are inorganic, making them unattractive to termites and wood-boring insects. This is especially beneficial over wood studs, which are naturally susceptible to pests.
4. Mold and Mildew Resistance
Unlike gypsum or wood, MgO boards resist mold growth, which is particularly advantageous in bathrooms, kitchens, or basements.
5. Versatility
MgO boards can be used for:
- Interior walls and ceilings
- Exterior sheathing (with proper moisture barriers)
- Fire-rated assemblies
- Tile backer boards in wet areas
Common Challenges and Solutions
1. Cracking During Installation
- Cause: Over-tightening screws or improper handling.
- Solution: Pre-drill thicker boards, use recommended screws, and avoid forcing panels into place.
2. Panel Flexing on Wide Spans
- Cause: Stud spacing too wide for the board thickness.
- Solution: Use 16-inch OC spacing for thicker panels or add blocking.
3. Compatibility with Finishes
- Cause: Some paints or adhesives are incompatible with MgO’s alkalinity.
- Solution: Use primers and paints specifically designed for MgO boards.
Best Practices
- Select High-Quality MgO Boards
- Boards with higher MgO content and minimal fillers are more durable.
- Follow Manufacturer Guidelines
- Different brands may have specific recommendations for screw types, spacing, and finishing.
- Avoid Direct Soil Contact
- Maintain a gap at the base of exterior walls to prevent water absorption.
- Protect Edges
- Seal cut edges and joints to maintain moisture resistance and structural integrity.
- Plan Stud Layout Carefully
- Ensure all panel edges and joints align with studs for proper support.
Conclusion
MgO boards can indeed be installed over both wood and metal studs, providing an excellent combination of fire resistance, moisture resistance, durability, and pest resistance. While the installation process is similar to drywall or plywood, attention must be paid to:
- Proper fasteners for the stud type
- Stud spacing and edge support
- Moisture management and finishing
When installed correctly, MgO boards enhance the performance and longevity of both wood and metal-framed walls. They are especially advantageous in areas prone to moisture, pests, or fire, offering a versatile and reliable solution for modern construction.
By understanding the nuances of installing MgO boards over different stud types, builders and homeowners can maximize both safety and durability, ensuring walls and ceilings that stand the test of time.


 English
 русский
 Español
 BMSC 517 New Sulfate MgO Board
 Multi-Support MgO Wall Sheathing Board
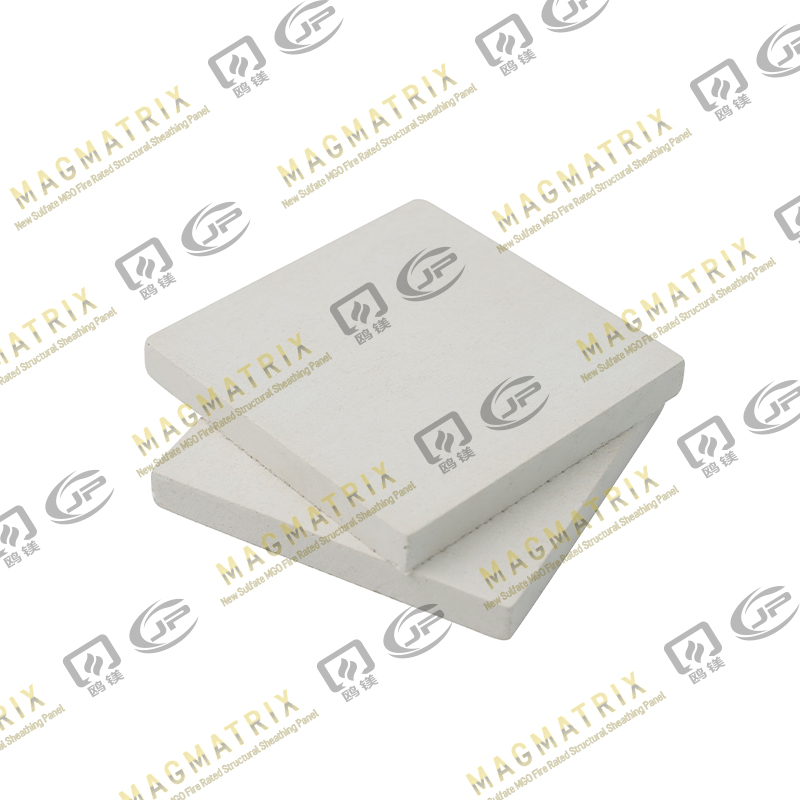 Perseverance MgO Wall Sheathing Board
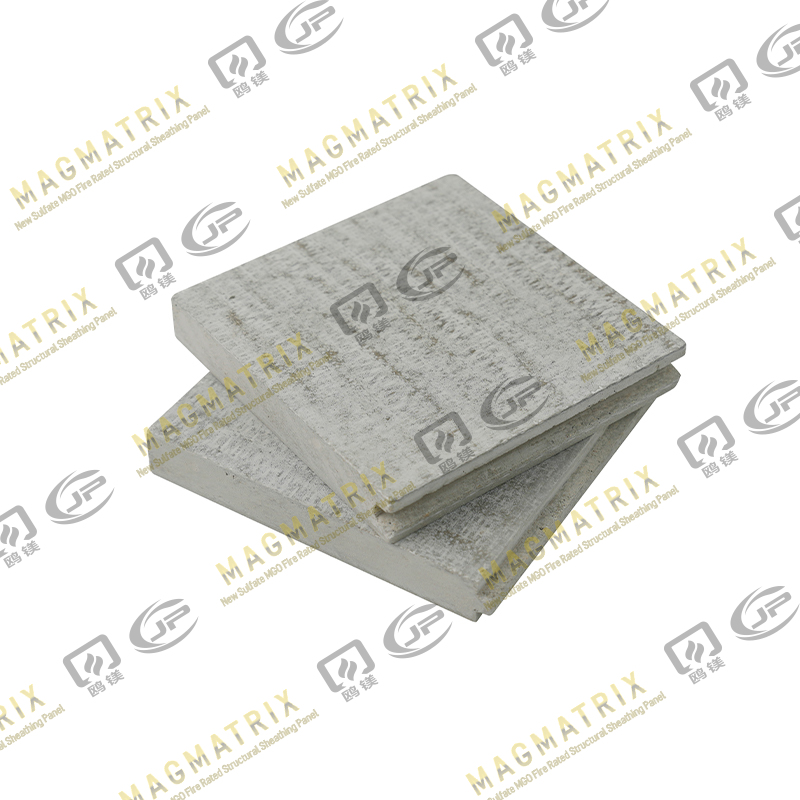 Multi-Support MgO Subfloor Sheathing Board
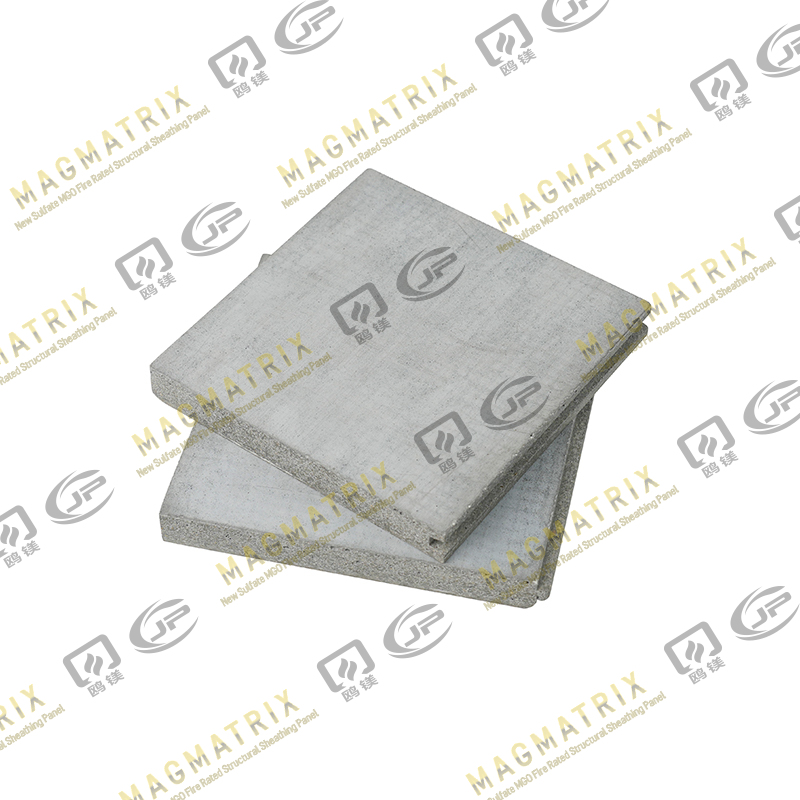 Perseverance MgO Subfloor Sheathing Board
 MagMatrix MgO Underlayment Panel/board
