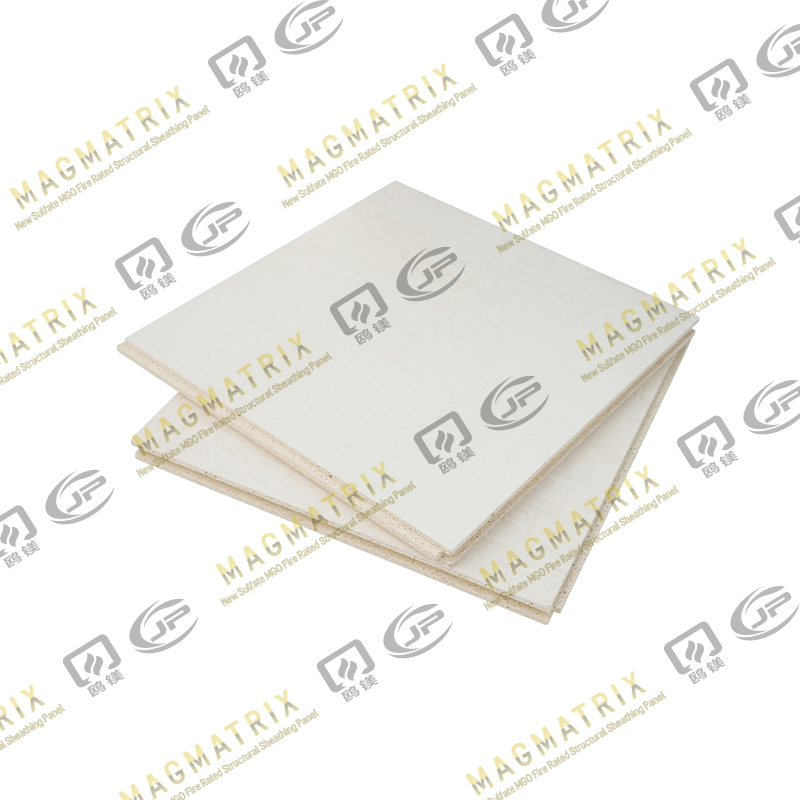
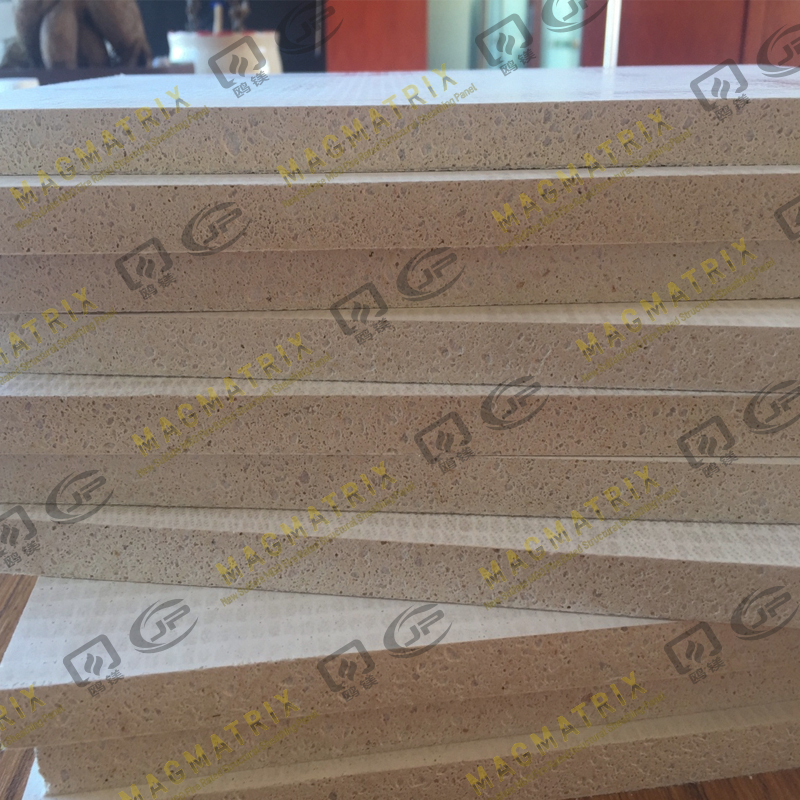
When constructing modular homes, MgO boards prove to be an indispensable material. Renowned for their strength, these boards withstand even the harshest conditions with ease. Unlike OSB (Oriented Strand Board), MgO boards boast remarkable fire resistance, withstanding high temperatures without deteriorating. Their resilience extends to impact and pressure, ensuring they maintain structural integrity over time. This durability makes them an ideal choice for long-lasting, high-performance applications. Additionally, MgO boards are environmentally friendly, contributing positively to sustainability efforts.
However, to ensure their full potential, proper installation is paramount. Attention to detail during setup guarantees optimal performance and longevity. Ready to dive into the process? Let’s walk through the essential steps.
Key Takeaways
Preparation is crucial. Gather essential tools such as a tape measure, saw, and screws to streamline the process.
Surface cleanliness matters. A dry, smooth surface enhances the bond between the MgO boards and the underlying structure.
Accurate measurements are vital. Proper planning ensures the boards fit precisely and securely in place.
Secure the boards with screws. Even spacing keeps the panels stable, preventing movement over time.
Seal and finish. Sealing the edges protects against water infiltration, extending the lifespan of the boards.
Step 1: Preparing for MgO Board Installation
A successful installation begins with thorough preparation. By following a few key steps, you can ensure the process is efficient and the results are flawless.
Gather Tools and Materials
Before you start, ensure you have all the necessary tools and materials on hand. Here’s a concise list:
Essential Tools:
Tape measure
Saw (preferably with a carbide-tipped blade for cutting MgO boards)
Drill
Screws
Required Materials:
MgO boards
Strong urethane adhesive
Fasteners
By gathering everything upfront, you’ll minimize disruptions and avoid unnecessary trips for additional supplies.
Inspect and Clean the Surface
The surface on which the MgO boards will be installed must be prepared meticulously. Follow these guidelines:
Ensure the surface is free of bumps, dirt, or moisture, which can compromise adhesion.
The substrate should be smooth, dry, and level. If there are any uneven areas, consider applying a leveling compound.
Pro Tip: For optimal adhesion, press the boards firmly onto the surface. Adhere to the manufacturer’s recommended drying time for the best results.
Measure and Plan the Layout
Accurate measurements and thoughtful planning are pivotal for a seamless installation. Here’s how to proceed:
Carefully measure the installation area and mark the placement of each board.
Maintain a small gap (approximately 6mm) between the boards and surrounding walls to allow for expansion and contraction due to temperature fluctuations.
Align the boards with the framing or joists to enhance their strength and stability.
By investing time in precise planning, you ensure that the MgO boards will fit perfectly and remain securely in place for years to come.

Step 2: Installing MgO Boards
With your preparation complete, it's time to proceed with the installation of MgO boards. This is the moment when your prior planning truly comes to fruition. To ensure a flawless and professional finish, follow these carefully outlined steps.
Position the Boards
Begin by strategically placing the boards in their designated locations.
Start in one corner of the room and work systematically across the space. This methodical approach will maintain alignment, preventing unsightly gaps and ensuring the layout remains uniform.
Align the boards with the joist layout or framing. This alignment is critical as it not only provides additional support but also guarantees the boards remain securely in place over time.
Pro Tip: Continuously check the alignment as you go. A slight adjustment at this stage can save you from much larger complications down the line.
Secure the Boards
Once positioned, it’s time to fasten the boards securely.
Use screws or appropriate fasteners to affix the boards. Distribute the screws approximately every 20-30 cm (8-12 inches) along the edges and centrally across each board. This even distribution enhances the structural integrity of the installation.
Ensure that the screws sit flush with the board surface. Protruding screws can disrupt the finishing process or create potential weak spots.
Proper fastening is crucial for long-lasting stability. Given the dense nature of MgO boards, securing them firmly ensures they remain in place, avoiding any shifts or warping over time.
Cut and Adjust the Boards
Not all boards will fit perfectly as-is, so adjustments will be necessary.
Use a saw, preferably equipped with a carbide-tipped blade, to trim the boards for edges, corners, or other intricate areas that require attention. A clean, precise cut is essential for maintaining the integrity of the installation.
Leave an appropriate expansion gap, generally around 6mm, between the boards. This space allows for natural expansion and contraction with temperature fluctuations, which helps prevent cracking or buckling.
Pro Tip: Always measure twice before cutting. It’s far better to take extra time and avoid costly errors than to deal with mistakes later.
By adhering to these steps, you will install MgO boards with both precision and confidence. A well-executed installation not only enhances the aesthetic appeal but also optimizes the performance and longevity of the boards.

Step 3: Completing the Installation
You’re nearly there! The final phase focuses on perfecting the appearance and longevity of your MgO boards. Let’s dive into the essential finishing touches.
Achieving a Smooth, Level Surface
Before sealing, it’s vital to ensure the surface is level. Take a moment to inspect the boards, carefully feeling for any unevenness. Use a straightedge for precision, identifying subtle bumps or dips.
If any imperfections are found, correct them promptly. Apply a leveling compound according to the manufacturer’s guidelines for optimal results.
Expert Tip: A perfectly level surface not only enhances the aesthetic appeal but also contributes to the boards’ long-term stability.
Sealing and Protecting the Boards
Sealing the edges and joints is paramount for ensuring the boards' durability. Here's how to proceed:
Choose a premium-quality sealant to fill the gaps between the boards, preventing moisture from seeping in and causing damage. Pay special attention to the edges, as a well-sealed perimeter shields the boards from premature wear.
Once the sealing is complete, the next step is preparing the surface for its finishing touch. Whether you opt for paint or another protective layer, ensure the surface is both clean and dry. A top-quality finish not only elevates the visual appeal but also provides an additional shield against everyday wear and tear.
Why This Step Matters: Sealing and treating your MgO boards significantly improve their lifespan. These measures guard against temperature fluctuations and wear, ensuring the boards remain in top condition for years to come.
By following these finishing steps, you’re guaranteeing that your MgO boards will not only perform exceptionally but also maintain their beauty over time. This thoughtful attention to detail will save you both time and money in the future.
A Quick Recap of the Process:
Preparation: Gather your tools, clean the surface, and plan your layout.
Installation: Position, secure, and adjust the boards with precision.
Finishing: Level, seal, and protect the boards for lasting durability.
Why Choose MgO Boards? They are incredibly durable, fire-resistant, and environmentally friendly. Plus, they’re straightforward to install when following these easy steps.
Take your time, follow the process meticulously, and you’ll achieve a flawless finish that stands the test of time. You’ve got this!


 English
 русский
 Español
 BMSC 517 New Sulfate MgO Board
 Multi-Support MgO Wall Sheathing Board
 Perseverance MgO Wall Sheathing Board
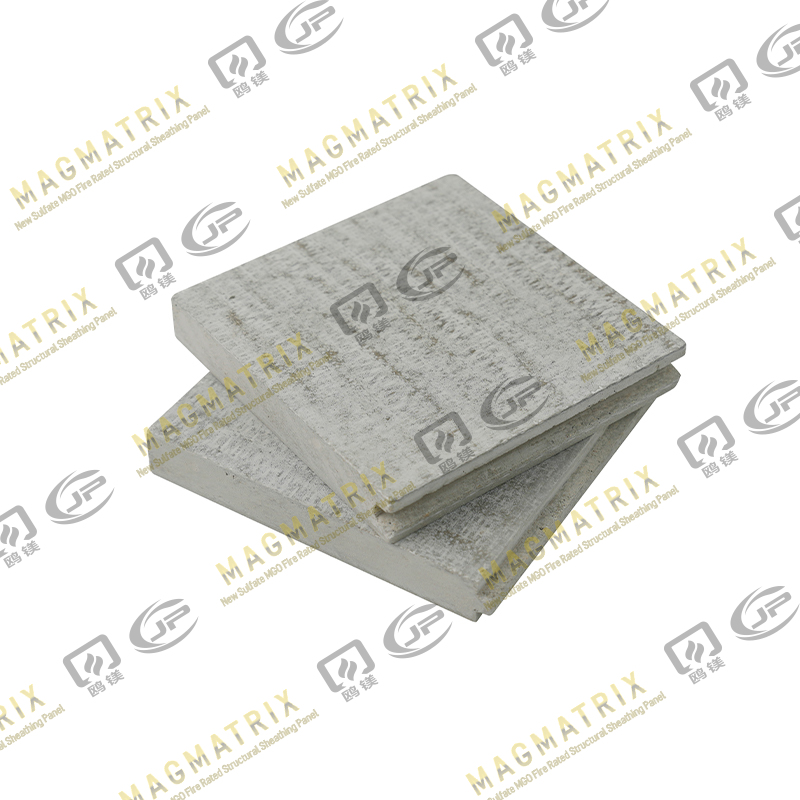 Multi-Support MgO Subfloor Sheathing Board
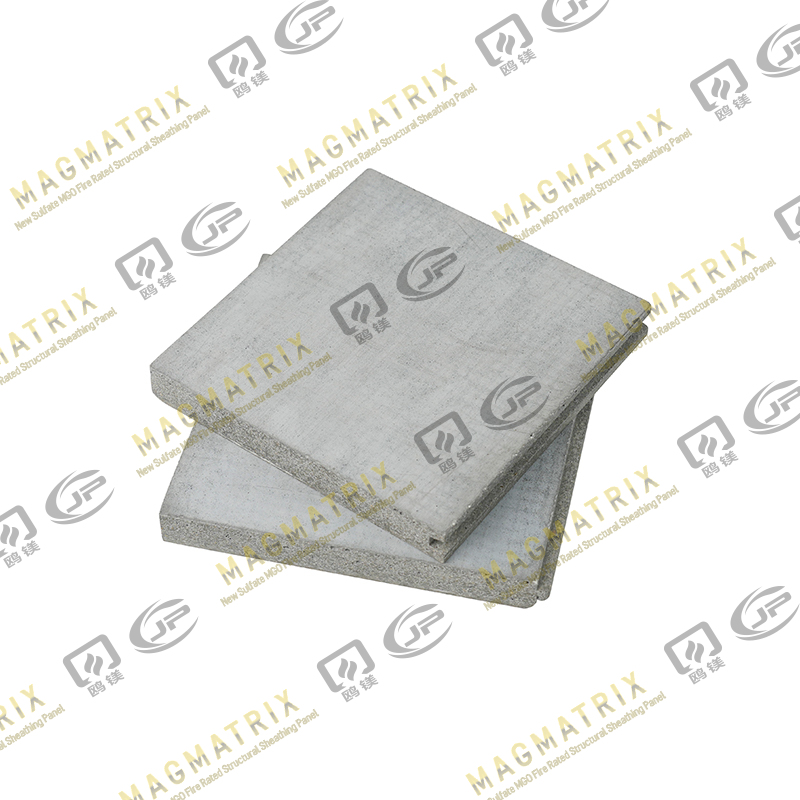 Perseverance MgO Subfloor Sheathing Board
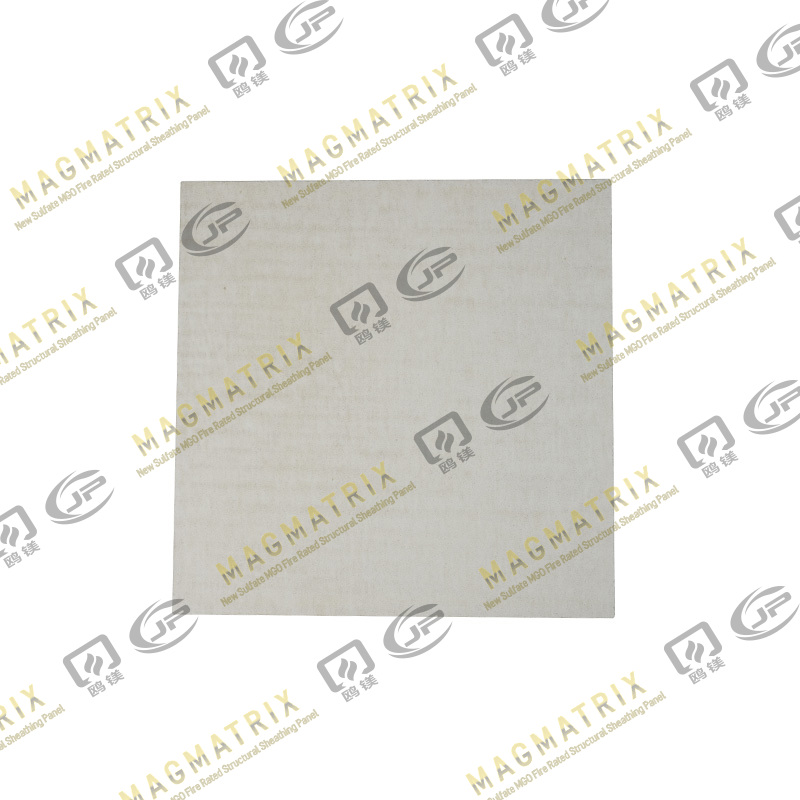 MagMatrix MgO Underlayment Panel/board
