Sulfate MgO boards—formally known as Basic Magnesium Sulfate Cementitious (BMSC) boards—are rapidly replacing traditional drywall and cement panels in residential and commercial construction. Thanks to their fire resistance, moisture tolerance, and structural performance, these panels are now the material of choice for walls, subfloors, ceilings, and decorative linings alike. If you are planning a home renovation or office fit-out, this guide walks you through every stage of installation, from tool selection to the final finishing touch.
Why Sulfate MgO Boards Are Different from Conventional Panels
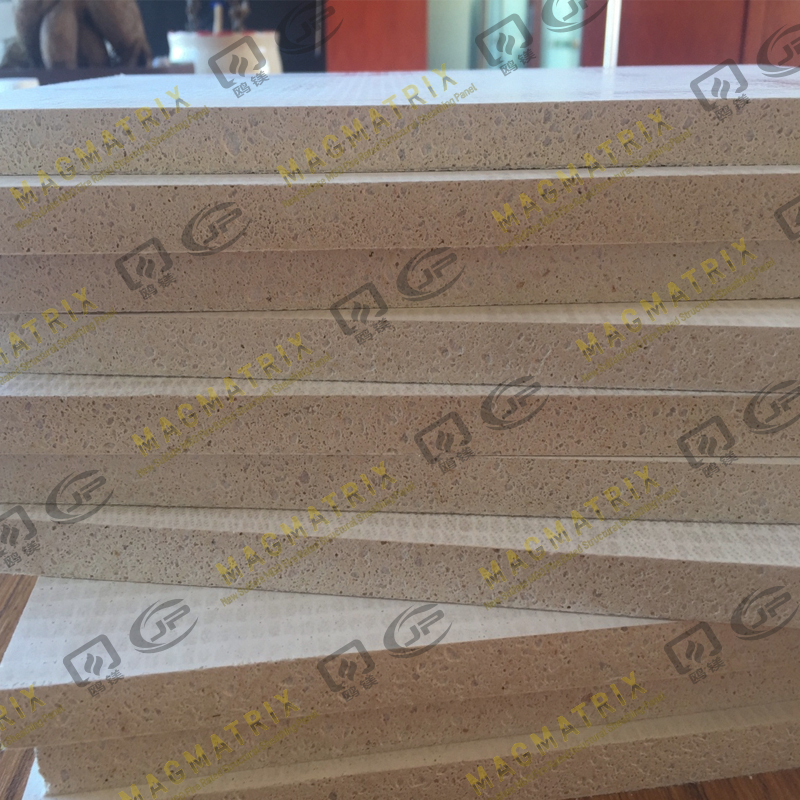
Not all MgO boards are the same. The key distinction lies in the binder chemistry. Older magnesium oxychloride formulations were prone to moisture migration and chloride-related corrosion of embedded fasteners. Sulfate MgO boards use magnesium sulfate as the hydration product, which produces a 5·1·7 phase crystal structure with a water solubility of only 0.034 g/100 g—placing it on par with Portland cement and making it vastly more stable in humid environments.
This chemistry also unlocks a combination of properties that is difficult to achieve with calcium-based boards: early strength development, resistance to halogen return, and fire-rated structural performance within the same panel. Boards can achieve a 2-hour fire resistance rating under ASTM E119, and their Class A non-combustible classification means zero flame spread and minimal smoke development—critical requirements for both residential and commercial occupancies.
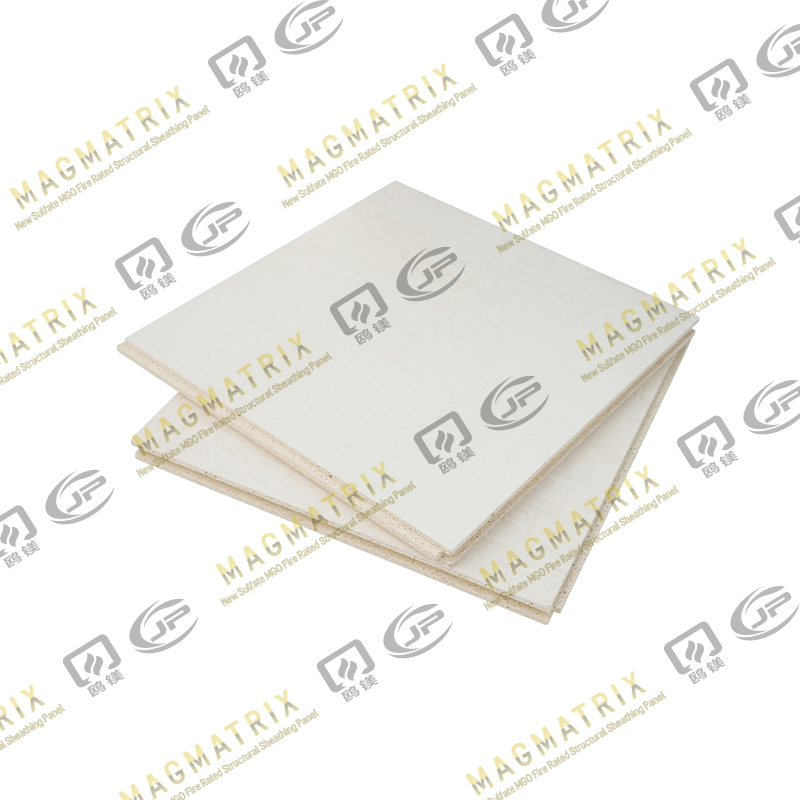
Standard sulfate MgO boards are available in thicknesses of 6 mm, 9 mm, 12 mm, and 16 mm, with panel dimensions of 1220 mm × 2440 mm up to 3050 mm, making them compatible with most framing modules used in timber-frame and steel-frame construction.
Tools and Materials You Will Need
Before bringing boards to site, assemble everything you need in one place. Stopping mid-installation to hunt for a missing tool is one of the most common sources of misaligned panels and poor seam treatment.
For cutting, use a carbide-tipped scoring knife for straight snap cuts, a dust-reducing circular saw fitted with a carbide or diamond blade for detailed cuts, and fiber cement shears for curved or close-tolerance edges. Sawhorses will keep panels stable during marking and cutting.
For fastening, use corrosion-resistant (Type 316 stainless or hot-dipped galvanized) screws appropriate to the board thickness—typically 1.25× the board thickness into the framing member. Never use standard zinc-plated screws, as the sulfate environment will accelerate oxidation.
Additional materials include a polyurea or modified epoxy seam filler, self-adhesive fiberglass mesh tape (50 mm wide), fire-rated flexible sealant for perimeter gaps, and a waterproofing membrane for corners in wet zones. Personal protective equipment—safety glasses, a P100 dust respirator, and cut-resistant gloves—is mandatory throughout.
Step 1 — Acclimatize the Boards and Prepare the Site
Allow sulfate MgO boards to acclimatize in the installation environment for 24 to 48 hours before you begin. This is particularly important in new builds where concrete is still drying or in offices where HVAC has not yet been commissioned. Boards stored flat on a clean pallet, off the floor, with airflow between stacks will reach equilibrium without warping.
Inspect every board before use. Discard any panel showing surface bulging, edge chipping greater than 5 mm, or visible delamination. Check that steel keels or timber studs are plumb, straight, and spaced to match the panel module—typically 400 mm or 600 mm on center for wall sheathing, and 400 mm to 610 mm for subfloor applications.
Clean the substrate thoroughly. Remove dust, cement laitance, oil, and debris. For existing walls, check flatness with a 2-meter straightedge; deviations greater than 3 mm should be packed or ground before the boards go up. Standing water on a subfloor must be eliminated before any panel touches the surface.
Step 2 — Measure, Mark, and Cut
Measure twice before every cut. Mark cut lines with a chalk line or carpenter's pencil against a straightedge, and always account for the expansion gap you will leave at perimeters and between panels.
For straight cuts on 9 mm and 12 mm boards, score deeply along the line with a carbide knife—two or three firm passes—then snap the board over the edge of a work surface. Clean the snap edge with a rasp if needed. For thicker 16 mm boards or cuts that include notches and penetrations, use a circular saw set just deeper than the board thickness to minimize tear-out on the face side.
Always cut with the finished face up when using a saw, as blade exit on the underside will be cleaner. Work outdoors or with forced extraction when cutting, since MgO dust, although non-toxic, irritates the respiratory tract with prolonged exposure.
Step 3 — Installing Boards on Walls
Begin in a corner, working from the bottom of the wall upward. Leave a 10 mm gap at the floor to prevent capillary moisture uptake, and fill this later with a fire-rated flexible sealant rather than a rigid compound.
Hold or brace each board plumb before driving fasteners. Start screws 15 mm from the board edge and space them 200 mm apart along edges and 300 mm apart in the field. Drive screws until the head sits just flush with the surface—countersinking is unnecessary and overdriving fractures the face layer around the fastener.
Stagger vertical joints between rows so that no two horizontal seams are on the same stud. Leave a 3 mm expansion gap between adjacent boards. This gap will be filled with a flexible jointing compound at the finishing stage, not a rigid filler that will crack when the building moves.
For exterior wall sheathing applications, panels should be installed with the long dimension perpendicular to the framing members to maximize racking resistance. In steel-frame offices, coordinate with the MEP trades to confirm that all pipe and cable penetrations are sleeved and fire-stopped before boarding proceeds past that zone.
Step 4 — Installing Boards on Subfloors and Underlayment
Subfloor installation demands the highest precision of any MgO application because the panels will carry live and dead loads and must transfer them evenly to the joist structure. Use boards with a minimum thickness of 12 mm to 16 mm for residential loading, and confirm the joist spacing is no greater than 400 mm to 600 mm on center for the chosen board thickness.
Install cross-bracing between joists to ensure that all panel edges land on a supported member. Lay panels with their long dimension perpendicular to the joists, staggering end joints by at least 400 mm between rows. Place each board and check it lies flat before fastening—any bow must be corrected by adding an intermediate block under the high point rather than forcing it down with screws.
Fasten with screws spaced 150 mm to 200 mm apart along edges and 250 mm in the field. Leave a 3 mm to 5 mm expansion gap at all board-to-board joints and a 10 mm gap at walls. Fill the expansion joints with a polyurea seam filler once the entire floor is laid; do not leave them open if the building will experience significant humidity swings.
Learn more about selecting the right panel weight and profile in our MgO subfloor sheathing range.
Step 5 — Installing Boards on Ceilings
Ceiling installation introduces the challenge of working against gravity. For direct screw-fixed ceilings, use boards no thicker than 12 mm unless the framing is specifically designed for the additional dead load. Drop ceiling grids accept lighter 6 mm to 9 mm boards and allow panels to be laid in rather than mechanically fixed, simplifying replacement for maintenance access in offices.
Have a second person hold the board in place while you drive the first row of screws. A simple T-brace cut from scrap timber, sized to the floor-to-ceiling height minus 20 mm, can substitute for an assistant on solo installations. Start screwing from the center of the panel outward to prevent bowing, and leave the same 3 mm joint gap you use on walls.
In bathrooms, kitchens, or any ceiling directly below a wet area, seal all cut edges and screw heads with a brush-applied waterproofing membrane before applying jointing compound. This prevents the slow moisture ingress that eventually causes delamination in improperly sealed installations.
Step 6 — Seam Treatment and Surface Finishing
Seam treatment is the stage most installers rush, and it is the most visible indicator of workmanship quality six months after installation. Apply self-adhesive fiberglass mesh tape over every board-to-board joint, pressing it firmly into the 3 mm gap. Do not use paper tape—it lacks the tensile strength to bridge the movement that occurs in any real building.
Apply a flexible joint compound over the tape in two thin coats, feathering each coat at least 150 mm beyond the tape edge. Allow the first coat to cure fully before applying the second—usually 24 hours at 20 °C. Fill screw heads with the same compound, flush to the surface.
Once the compound is fully cured, sand lightly with 120-grit paper and prime the entire surface with a penetrating alkali-resistant primer before applying paint, texture coat, or decorative laminate. Skipping the primer on sulfate MgO boards can cause alkalinity bleed that discolors water-based topcoats within weeks.
For areas subject to direct water contact—shower surrounds, kitchen splashbacks, office bathroom partitions—apply a two-coat waterproofing membrane to the finished surface before tiling. MgO boards are moisture-resistant by nature, but surface-applied waterproofing eliminates any residual risk and is required by most tile adhesive manufacturers to maintain warranty coverage.
Common Installation Mistakes and How to Avoid Them
Frequent installation errors and their recommended remedies
| Mistake |
Consequence |
Prevention |
| No expansion gap between boards |
Panel buckling or cracking as building moves seasonally |
Maintain a 3–5 mm gap at all board-to-board joints |
| Standard zinc screws used |
Rust staining and fastener failure within 12–18 months |
Use Type 316 stainless or hot-dipped galvanized screws only |
| Boards stored upright without support |
Bowing that makes installation and alignment difficult |
Store flat on a level pallet with full-length bearers every 400 mm |
| Rigid filler used in expansion joints |
Cracking at joints visible through paint within months |
Use flexible polyurea or modified epoxy seam filler throughout |
| No primer before topcoat |
Alkalinity bleed and paint discoloration |
Apply alkali-resistant primer to all surfaces before decorating |
| Overdriven screws |
Local fracture of board face, reduced pull-out strength |
Set driver torque so screw head sits flush, not countersunk |
Choosing the Right Sulfate MgO Board for Your Project
Not every panel is suited to every application. For fire-rated exterior wall sheathing on timber or steel frames, choose a structural sheathing board certified under ASTM E119 or EN 13501-1—both ratings indicate the panel has been independently verified for fire-rated assembly performance, not just material non-combustibility.
For subfloor applications in multifamily or modular buildings, select a panel with documented load-span data and confirmation that it meets the span requirements for your joist spacing. For interior decorative linings, a thinner 6 mm or 9 mm board with a smooth face and verified compatibility with your chosen laminate or paint system is the correct choice.
Review the full BMSC 517 New Sulfate MgO Board specifications and the available wall and floor sheathing formats, or visit our FAQ section for answers to the most common installation questions before you order.
Post-Installation Maintenance
Sulfate MgO boards require very little ongoing maintenance once correctly installed and finished. Inspect all perimeter sealant joints annually and reapply if cracking or adhesion loss is visible—this is the most common maintenance task in any building using board-and-sealant construction. Clean painted surfaces with a mild detergent solution; avoid abrasive cleaners that can damage the topcoat and expose the board substrate to sustained moisture.
In commercial offices where ceiling boards may need to be lifted for MEP access, check that replacement panels match the original specification. Mixing chloride-based and sulfate-based MgO boards in the same assembly is not recommended, as the two chemistries respond differently to moisture cycling and can produce differential movement at seams.
With proper installation and routine joint inspection, a sulfate MgO board installation in either a residential or commercial setting should perform without intervention for the life of the building—delivering the fire safety, moisture resistance, and structural integrity that made it the right material choice in the first place.


 English
 русский
 Español
 BMSC 517 New Sulfate MgO Board
 Multi-Support MgO Wall Sheathing Board
 Perseverance MgO Wall Sheathing Board
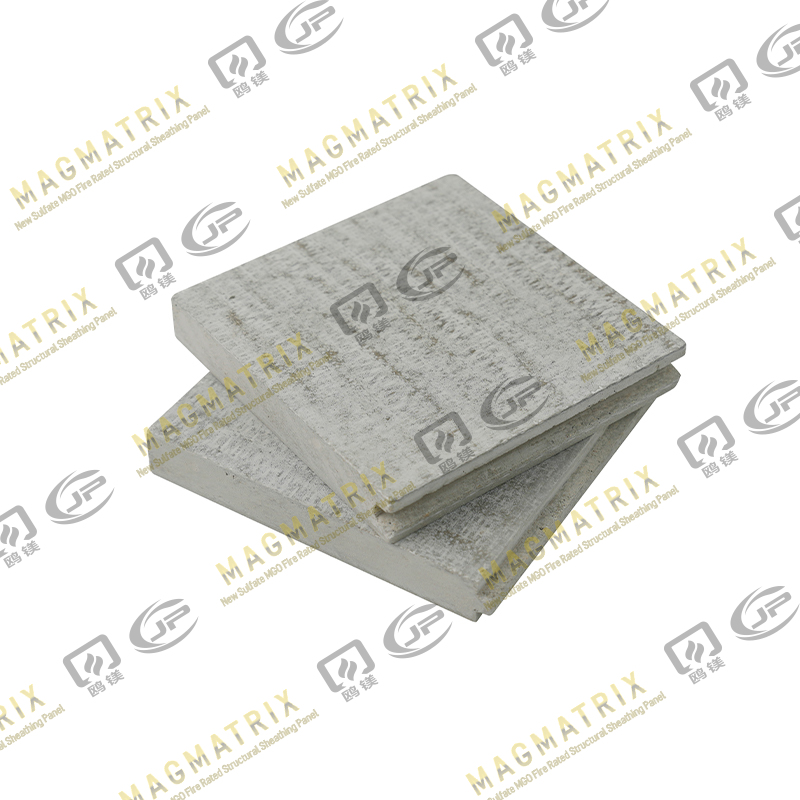 Multi-Support MgO Subfloor Sheathing Board
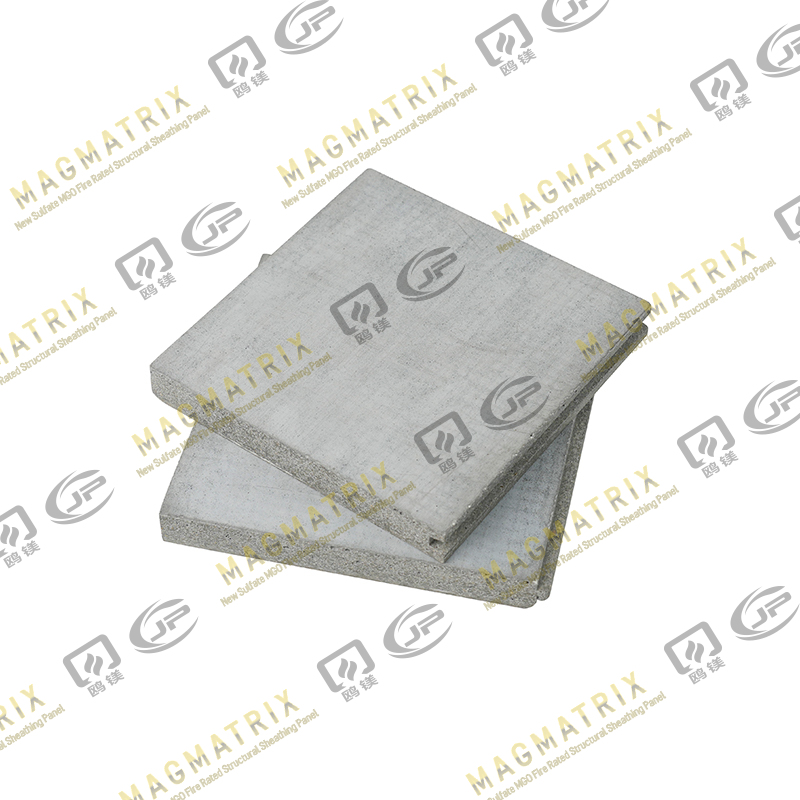 Perseverance MgO Subfloor Sheathing Board
 MagMatrix MgO Underlayment Panel/board
