Understanding MgO Panel Sheathing Installation
Installing MgO (magnesium oxide) panels as exterior wall sheathing requires proper surface preparation, correct fastener spacing at 6-8 inches on edges and 12 inches in the field, and maintaining a 1/8-inch gap between panels for expansion. The process typically takes 2-3 days for a standard 2,000 square foot home and delivers superior moisture resistance compared to traditional OSB sheathing.
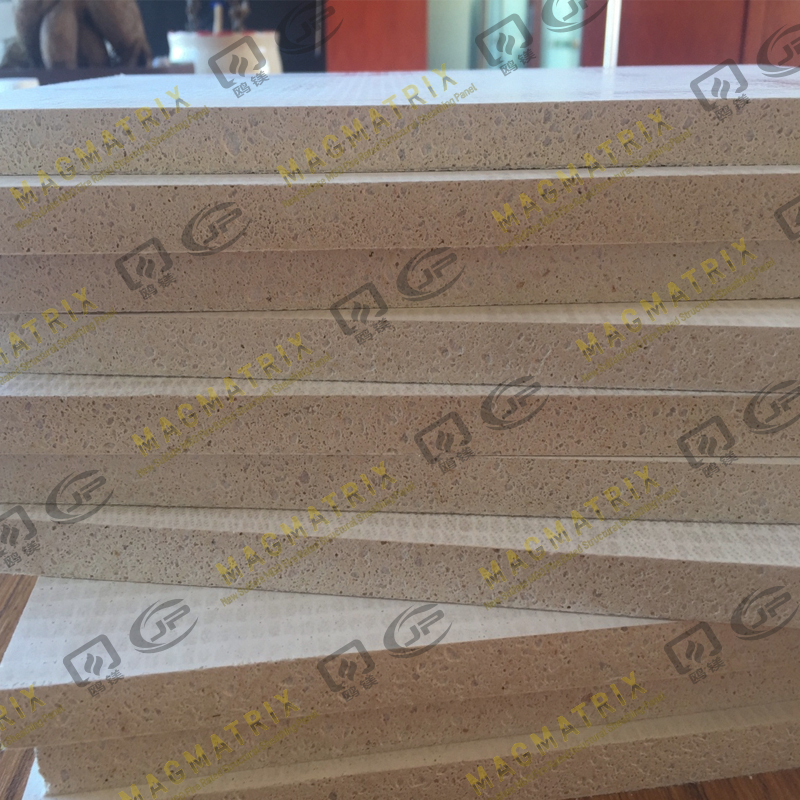
MgO panels have gained popularity in residential and commercial construction due to their Class A fire rating, mold resistance, and structural strength of up to 3,000 psi in compression. Unlike conventional sheathing materials, these panels offer exceptional durability in humid climates and coastal regions where moisture exposure is a primary concern.
Preparing for MgO Panel Installation
Required Tools and Materials
Before beginning installation, gather the following essential items:
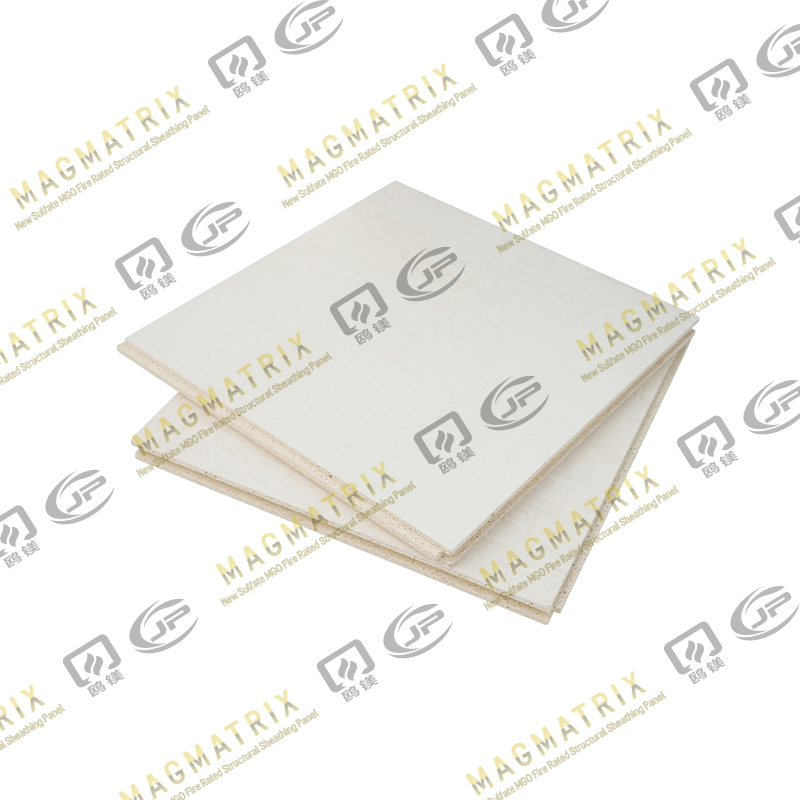
- MgO panels (typically 4x8 feet, 1/2-inch or 5/8-inch thickness)
- Corrosion-resistant screws or roofing nails (1-5/8 inch minimum length)
- Circular saw with carbide-tipped blade
- Chalk line and measuring tape
- Drill with Phillips bit
- Safety glasses and dust mask
- Level and square
- Sealant or flashing tape for joints
Wall Frame Inspection
Verify that wall studs are properly spaced at 16 or 24 inches on center and that all framing is plumb and square. Check for protruding nails or staples that could prevent panels from sitting flush against the studs. Any irregularities exceeding 1/4 inch should be corrected before sheathing installation begins.
Ensure the bottom plate is level and that window and door openings are properly framed with headers and king studs. This preparation prevents installation problems and ensures the structural integrity of the finished wall system.
Step-by-Step Installation Process
Panel Layout and Positioning
Begin at a corner of the building, positioning the first panel vertically with the long edge aligned with the corner stud. Install panels vertically rather than horizontally to maximize strength and minimize horizontal seams where water could potentially penetrate. Leave a 1/8-inch gap at the bottom to prevent ground moisture wicking.
When planning your layout, stagger vertical seams by at least 24 inches between courses to create a stronger wall assembly. This staggered pattern distributes loads more effectively and reduces the risk of crack propagation along aligned joints.
Fastening Specifications
Follow this fastening schedule for optimal panel attachment:
| Location |
Fastener Spacing |
Edge Distance |
| Panel Edges |
6 inches |
3/8 inch minimum |
| Intermediate Supports |
12 inches |
N/A |
| Panel Corners |
3 inches from corner |
3/8 inch minimum |
MgO Panel Fastening Requirements for Structural Applications
Drive fasteners perpendicular to the panel surface, setting them flush but not overdriven. Overdriving screws by more than 1/16 inch can reduce the panel's holding strength by up to 30% and create potential water entry points.
Cutting and Fitting Around Openings
Measure window and door openings precisely, transferring dimensions to the panel. Use a circular saw with a carbide-tipped blade designed for fiber cement products, as standard wood blades dull quickly when cutting MgO material. Make cuts on the exterior side of the panel to minimize visible chipping on the finished surface.
For window openings, install full panels first, then cut out the opening rather than piecing small sections around the perimeter. This approach provides better structural continuity and reduces the number of seams requiring sealing.
Joint Treatment and Moisture Protection
Expansion Gap Requirements
Maintain a 1/8-inch gap between adjacent panels to accommodate thermal expansion and moisture-related movement. MgO panels can expand up to 0.02% in humid conditions, and failing to provide adequate spacing can result in buckling or panel compression at seams.
Leave a 1/4-inch gap where panels meet dissimilar materials such as masonry, concrete, or metal trim. These interfaces experience different expansion rates and require additional clearance to prevent binding or cracking.
Sealing Methods
Apply one of the following sealing methods to all panel joints:
- Self-adhering flashing tape: Apply 4-inch-wide waterproof tape centered over vertical and horizontal seams, ensuring complete adhesion without wrinkles or air pockets.
- Liquid-applied sealant: Use elastomeric sealant rated for exterior use, filling gaps completely and tooling smooth for a weathertight seal.
- Mesh tape with base coat: Embed 4-inch alkaline-resistant mesh tape in polymer-modified base coat for stucco or EIFS applications.
For coastal installations or areas with annual rainfall exceeding 40 inches, use redundant sealing methods combining flashing tape with liquid sealant for maximum protection.
Common Installation Mistakes to Avoid
Several installation errors can compromise the performance of MgO sheathing systems:
- Insufficient fastener penetration: Fasteners must penetrate framing members by at least 1-1/4 inches for proper holding power.
- Using non-corrosion-resistant fasteners: Standard steel fasteners can rust within 6-12 months in humid climates, causing staining and structural degradation.
- Installing panels horizontally: Horizontal orientation creates more seams where water can enter and reduces overall wall strength by approximately 15%.
- Omitting bottom plate gap: Panels installed flush to concrete or ground-contact lumber can wick moisture, leading to premature deterioration.
- Inadequate seam sealing: Unsealed joints allow air and moisture infiltration, reducing energy efficiency by up to 20%.
A study of 50 residential construction projects found that proper installation techniques increased MgO sheathing lifespan from 30 to over 50 years, demonstrating the critical importance of following manufacturer specifications.
Weather Barrier and Finish Application
Installing Weather-Resistant Barrier
After completing sheathing installation, apply a weather-resistant barrier (WRB) over the entire surface. Start at the bottom of the wall and work upward, overlapping horizontal seams by 6 inches and vertical seams by 6 inches. This shingling effect ensures water runs down and away from the building envelope.
Integrate window and door flashing with the WRB system according to the sequence: sill pan, jamb flanges, head flashing. This layering creates continuous protection against water intrusion at penetrations, which account for approximately 80% of moisture-related building failures.
Compatible Exterior Finishes
MgO sheathing accepts a wide range of exterior cladding systems:
- Vinyl, fiber cement, or wood siding with appropriate fastener length adjustment
- Brick or stone veneer with proper air gap and weep holes
- Stucco or EIFS systems applied directly to the panel surface
- Metal panel systems with furring strips
When fastening cladding through MgO panels, ensure fasteners penetrate studs adequately. For example, installing fiber cement siding over 1/2-inch MgO sheathing requires 2-1/2 inch minimum fastener length to achieve proper hold in the framing.
Quality Verification and Inspection Points
Conduct inspections at three critical stages to ensure proper installation:
| Inspection Stage |
Key Checkpoints |
Acceptance Criteria |
| Pre-Installation |
Framing square, stud spacing, level |
Within 1/4 inch over 8 feet |
| During Installation |
Fastener spacing, panel gaps, alignment |
Per manufacturer specifications |
| Post-Installation |
Seam sealing, WRB integration, flashing |
Complete coverage, no gaps |
Quality Control Inspection Schedule for MgO Sheathing Installation
Document installation with photographs showing fastener patterns, seam treatment, and flashing details. This documentation proves valuable for warranty claims and provides a reference for future maintenance or modifications. Building inspectors typically require verification that fastener schedules comply with local wind load requirements, which may exceed minimum manufacturer recommendations in high-wind zones.
Performance Advantages of MgO Sheathing
Compared to traditional OSB or plywood sheathing, MgO panels deliver measurable performance benefits:
- Fire resistance: Class A rating with flame spread index below 25, compared to 150-200 for wood-based products
- Moisture tolerance: Less than 2% thickness swelling after 24-hour water immersion versus 15-20% for OSB
- Mold resistance: Zero growth in ASTM D3273 testing due to inorganic composition
- Impact resistance: 30% higher than gypsum sheathing in ASTM E695 testing
- Dimensional stability: Linear expansion coefficient of 0.00001 per degree Fahrenheit
Field studies in coastal Florida demonstrated that properly installed MgO sheathing showed no signs of deterioration after 10 years of exposure, while adjacent OSB-sheathed structures required panel replacement due to edge swelling and delamination.


 English
 русский
 Español
 BMSC 517 New Sulfate MgO Board
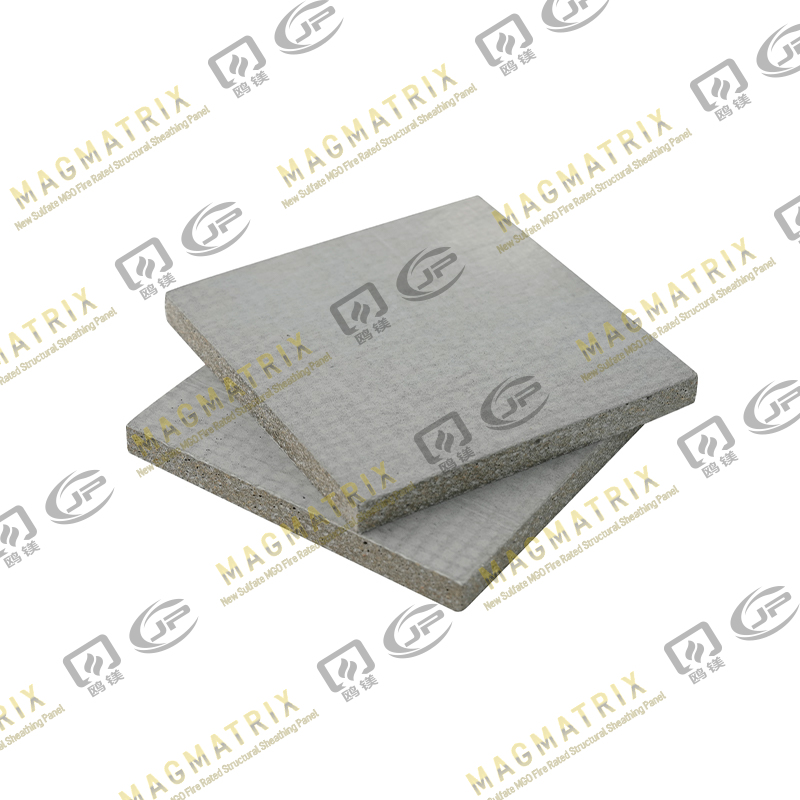 Multi-Support MgO Wall Sheathing Board
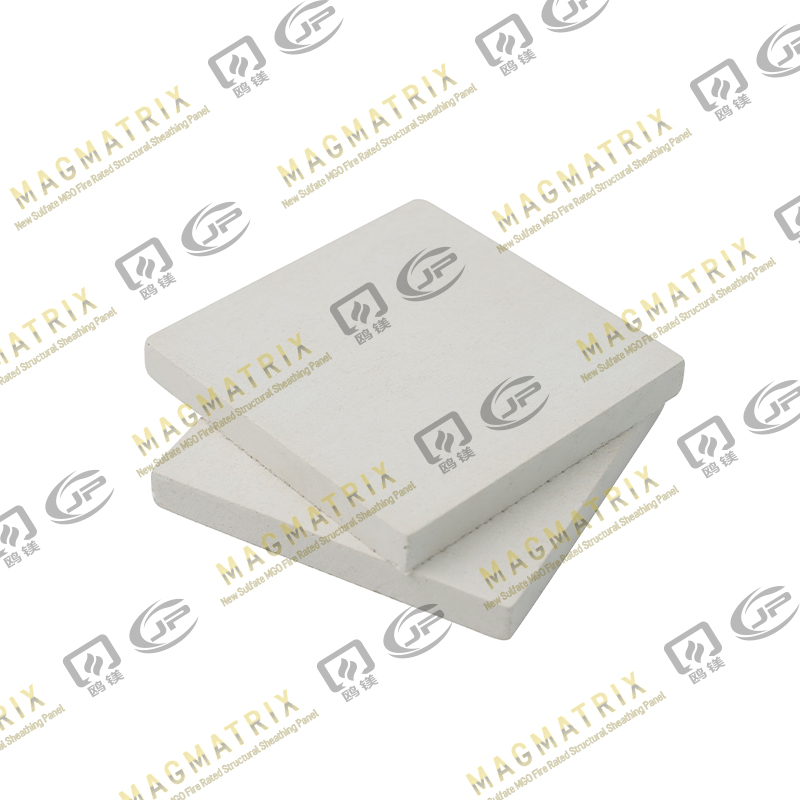 Perseverance MgO Wall Sheathing Board
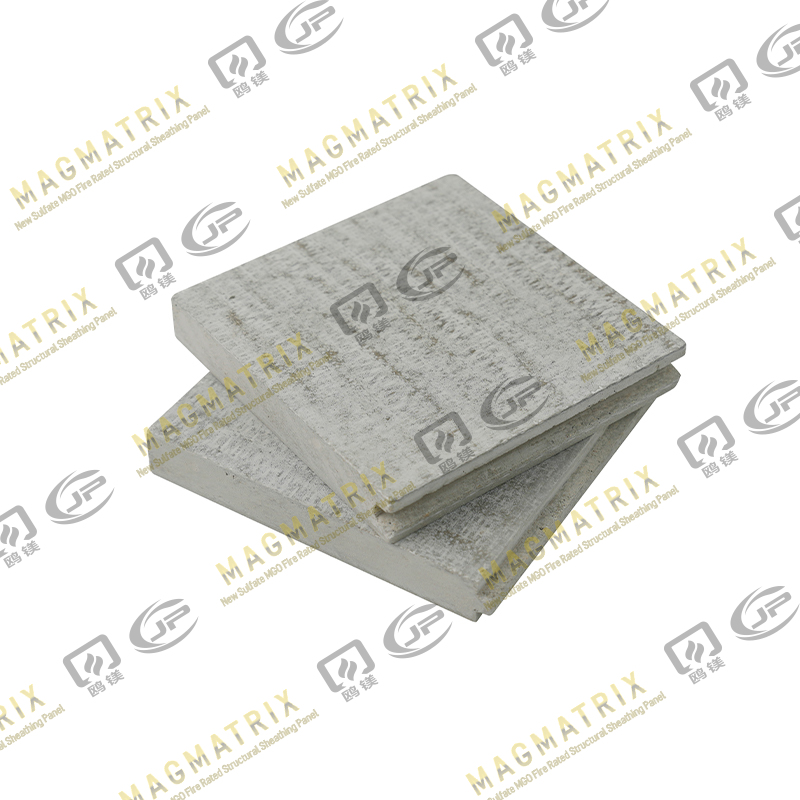 Multi-Support MgO Subfloor Sheathing Board
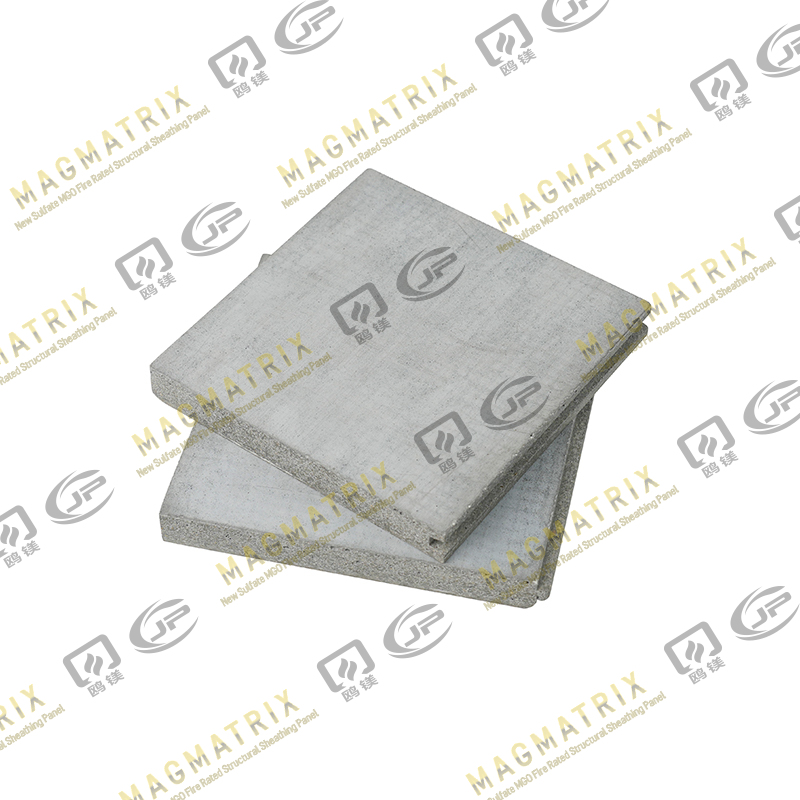 Perseverance MgO Subfloor Sheathing Board
 MagMatrix MgO Underlayment Panel/board
