Why Replacing Subfloor Under a Wall Is More Complicated Than Open-Area Repairs
Subfloor replacement becomes significantly more challenging once a wall sits on top of the damaged area. Unlike an open-field repair where you simply cut out the bad panel and drop in a new one, a load-bearing or partition wall introduces structural variables that demand careful planning. In our experience supplying subfloor sheathing materials to contractors across residential and commercial projects, the most common mistakes happen at the planning stage — not during the actual installation.
Water damage, rot, or delamination under a wall typically go unnoticed for years. By the time the floor feels soft or the wall shows signs of settlement, the subfloor may have deteriorated across multiple joist bays. According to the National Association of Home Builders, moisture-related structural damage is responsible for roughly 40% of residential repair costs in older housing stock. Getting the repair right the first time — especially under a wall — prevents far more expensive problems downstream.
Assess Before You Cut: Structural vs. Partition Walls
The first thing to determine is whether the wall sitting over the damaged subfloor is load-bearing or a simple partition. This single factor changes almost every decision that follows.
Load-Bearing Walls
A load-bearing wall transfers weight from the roof or upper floors down to the foundation. Removing or undermining a load-bearing wall without temporary support can cause the structure above to shift within hours. Before any subfloor work begins, you must install temporary shoring — typically a temporary stud wall built parallel to the existing wall, positioned 18–24 inches away, bearing on a doubled 2×10 or LVL beam that transfers the load to sound floor structure.
Non-Load-Bearing Partition Walls
Partition walls carry only their own weight. While you still need to be cautious about mechanicals (plumbing, electrical, HVAC runs inside the wall cavity), you generally do not need temporary shoring unless the wall is unusually tall or the floor deflection is severe enough to compromise adjacent structure.
A quick check: walls running perpendicular to floor joists are almost always load-bearing. Walls running parallel to joists are usually partitions — though not always, particularly in platform-frame construction. When in doubt, consult a licensed structural engineer. A structural consultation typically costs $300–$700, a fraction of the cost of a structural failure.
Tools and Materials You Will Need
Being well-prepared before demolition starts prevents the job from stalling halfway through. Here is a practical checklist:
- Oscillating multi-tool or circular saw with adjustable depth setting
- Reciprocating saw (for cutting flush against joists)
- Pry bar and hammer
- Moisture meter (to confirm dry conditions before installing new material)
- Temporary shoring materials (if load-bearing wall is involved)
- Subfloor adhesive rated for the panel type you are installing
- Replacement subfloor sheathing panels cut to size
- Structural screws or ring-shank nails per local code
- Blocking lumber (2× stock matching joist depth) for new panel edges
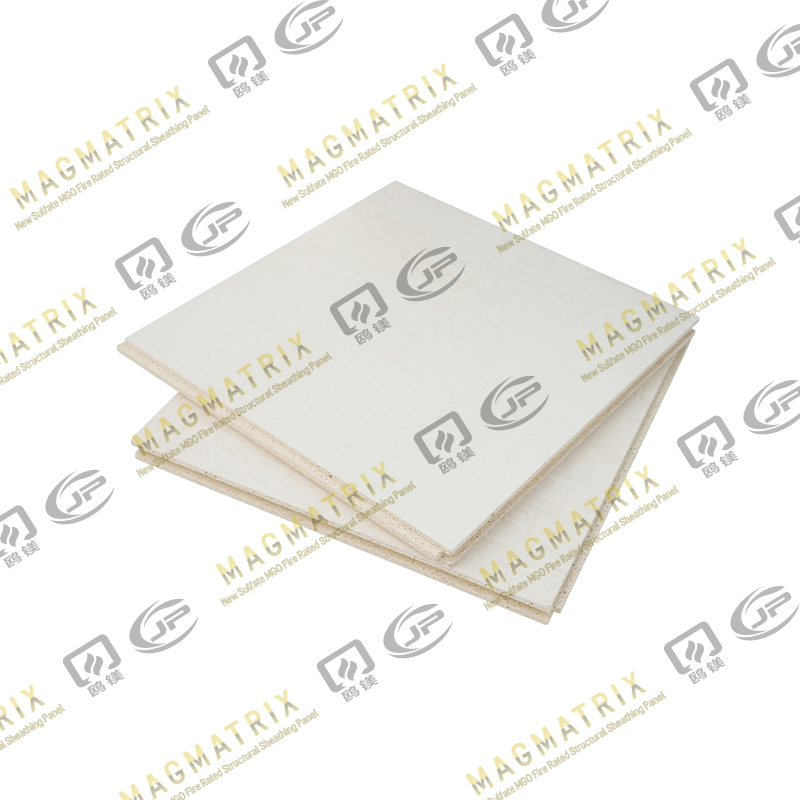
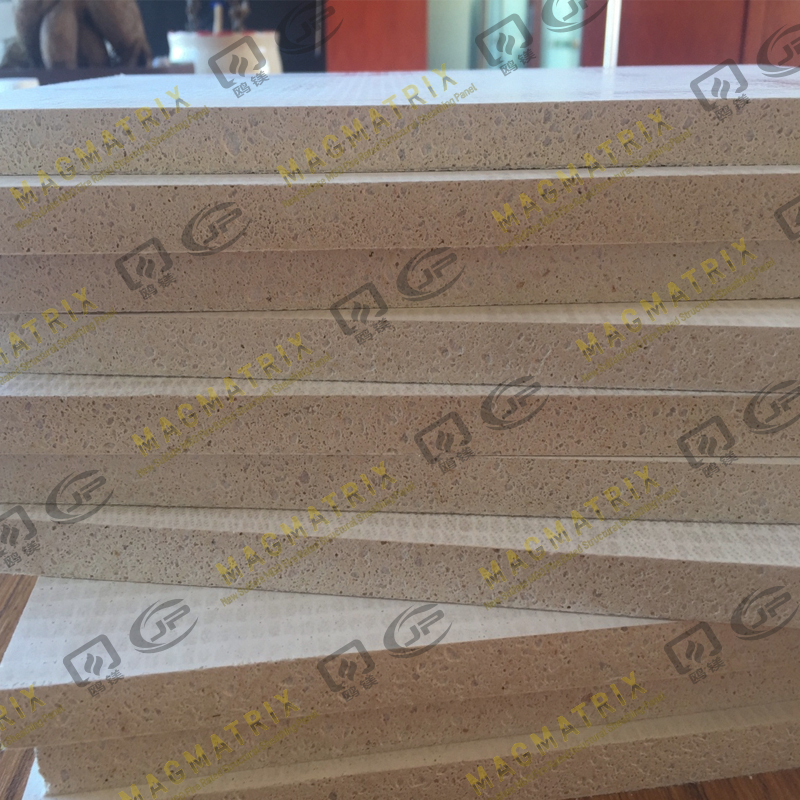
For the replacement panel itself, material choice matters more than most contractors realize. Traditional OSB or plywood works in dry conditions but remains vulnerable to moisture re-exposure. On projects where long-term moisture resistance is a concern — slab-on-grade, crawl spaces, or bathrooms adjacent to the wall — a magnesium oxide (MgO) subfloor sheathing panel is worth specifying. MgO panels offer Class A fire ratings, dimensional stability in humid conditions, and high compressive strength, making them well-suited to demanding subfloor environments. If you are sourcing replacement sheathing, our MgO subfloor sheathing board product range covers both standard and high-load applications.
Step-by-Step: How to Replace Subfloor Under a Wall
Step 1 — Shore Up the Wall (If Load-Bearing)
Build a temporary stud wall on each side of the load-bearing wall, spaced about 18 inches away. Use a doubled top plate bearing on a header beam that spans across sound joist bays. Toenail temporary studs at 16 inches on center. Do not skip this step — even a 2-inch settlement in the wall above can crack drywall, rack door frames, and permanently distort framing.
Step 2 — Expose the Damaged Area
Set your circular saw blade to the exact thickness of the existing subfloor — measure at a cut edge or access hole first. Cut along joist centerlines so that panel edges land on solid bearing. Use an oscillating tool near the wall base where a full circular saw cannot reach safely. Avoid cutting into joist tops.
Step 3 — Remove the Old Subfloor Panel
Pry up the damaged panels section by section. If the bottom plate of the wall sits directly on the subfloor (common in platform framing), you will typically leave the plate in place and work around it, sliding new panel sections under where the plate meets the joist below. In severe cases where the joist itself is compromised, sister a new joist alongside it before proceeding.
Step 4 — Inspect and Treat Joists
Before new material goes in, probe every joist in the affected bay with an awl. Soft spots indicate rot that must be addressed. Surface-treat sound but discolored wood with a borate-based preservative. Confirm with a moisture meter that wood moisture content is below 19% before closing in the subfloor — anything above that threshold invites future mold growth.
Step 5 — Install Blocking at New Panel Edges
Any panel edge that does not land on a joist needs solid blocking beneath it. Cut 2× lumber to fit snugly between joists and face-nail or screw it into position. For panels under a wall, this is especially important because the continuous load from above means unsupported panel edges will eventually telegraph movement into the finish floor.
Step 6 — Fit and Fasten the New Panel
Apply subfloor adhesive to all joist and blocking contact surfaces with a steady bead. Set the new panel, confirm it is flush with adjacent existing subfloor (use a straightedge to check), and fasten per the panel manufacturer's specifications — typically 6-inch spacing at edges and 10–12 inches in the field for structural panels. Ring-shank nails or coarse-thread screws significantly outperform smooth shank nails in pull-through resistance, which matters under a wall where the panel is permanently loaded.
Step 7 — Remove Shoring and Verify
Once adhesive has cured (typically 24 hours), remove temporary shoring carefully and in reverse order of installation. Walk the repair area; there should be no flex, squeak, or movement. Re-check levelness with a 6-foot straightedge. Any deviation greater than 3/16 inch over 10 feet needs correction before finish flooring goes down.
Subfloor Material Comparison: Choosing the Right Replacement Panel
Not all subfloor panels perform equally under a wall, where concentrated and sustained loading is the norm. The table below compares the three most common replacement materials across key performance criteria.
Comparison of common subfloor sheathing materials for under-wall replacement applications
| Property |
Plywood (3/4″ T&G) |
OSB (3/4″ T&G) |
MgO Subfloor Panel |
| Moisture resistance |
Moderate |
Low–Moderate |
High |
| Fire resistance |
Combustible |
Combustible |
Class A non-combustible |
| Dimensional stability when wet |
Moderate — can swell at edges |
Low — swells significantly |
Excellent — minimal movement |
| Compressive strength |
Good |
Good |
Very high |
| Mold / pest resistance |
Moderate (with treatment) |
Low |
Inherently resistant |
| Typical cost premium vs. OSB |
+15–25% |
Baseline |
Higher upfront, lower lifecycle cost |
For projects where the subfloor replacement is in a high-humidity zone — crawl space construction, ground-floor units, or anywhere adjacent to bathrooms or kitchens — the lifecycle cost argument for MgO panels becomes compelling quickly. A panel that does not swell, rot, or delaminate over 20 years under a wall is worth the upfront investment when the alternative is repeating this same repair.
Dealing with Specific Challenges: Plumbing, Electrical, and Tight Access
Plumbing Penetrations
Supply and drain lines frequently pass through the subfloor inside wall cavities. Before cutting, locate all penetrations by probing with a thin wire or using a pipe-finding mode on a stud finder. Accidentally nicking a drain line buried in the subfloor is one of the most costly mistakes on this type of repair — it may require opening adjacent flooring to gain repair access. Mark every penetration location clearly before the saw goes in.
Electrical Runs
Electrical cables sometimes run through notches in the tops of joists directly beneath a wall. Shut off relevant circuits and use a voltage detector before and during demolition. In some cases, cables need to be temporarily re-routed or protected with a nail plate before the new subfloor panel is fastened — check local NEC requirements on cable protection at penetrations.
Tight Access Angles
When the wall prevents a full-size panel from dropping flat onto the joists from above, the common solution is to cut the replacement panel into narrower strips (typically 12–16 inches wide) that can be slid horizontally under the wall plate and then fastened in place. This requires more blocking and more fasteners but produces a structurally sound repair. Use adhesive generously on strip-pieced repairs — the increased number of joints means adhesive continuity matters more than in a single-panel installation.
Common Mistakes to Avoid
- Skipping the moisture check. Installing new subfloor over wet joists guarantees the problem returns. Always confirm joist MC below 19% with a calibrated pin-type meter before closing up.
- Cutting through joist tops. Set saw depth precisely to subfloor thickness. Even a 1/8-inch over-cut into a joist notch reduces its structural section and may require sistering.
- Leaving unsupported panel edges. Every edge joint needs bearing — either on a joist or on solid blocking. Unsupported edges under wall loads will produce squeaks and eventual panel failure.
- Mismatching panel thickness. New panels must match existing subfloor thickness exactly, or you create a height differential that affects finish flooring, door clearance, and wall trim.
- Not addressing the moisture source. Replacing the subfloor without correcting the leak, drainage problem, or condensation issue that caused the damage means you will be doing this repair again in 5–10 years.
When to Consider Upgrading the Entire Subfloor System
A localized repair under a wall is the right call when damage is contained. But if your inspection reveals widespread delamination, rot across multiple joist bays, or a floor system that has been compromised by years of moisture cycling, a targeted patch may be a short-term fix on a long-term problem.
In renovation projects where the subfloor is being replaced section by section, specifying a consistent, high-performance material throughout simplifies installation and eliminates the panel-thickness matching problem entirely. Projects in multifamily construction, mixed-use buildings, or any application with fire compartmentalization requirements benefit especially from upgrading to a non-combustible subfloor sheathing. The upfront cost difference between OSB and a high-performance MgO panel typically ranges from 15–30% per square foot, but the reduction in callbacks, moisture claims, and fire-rating compliance issues makes the math straightforward on larger projects.
If you are evaluating subfloor materials for an upcoming project — whether a single-room repair or a full building spec — our MgO subfloor sheathing board page provides detailed product specifications, fire ratings, and load data to support your material selection process.


 English
 русский
 Español
 BMSC 517 New Sulfate MgO Board
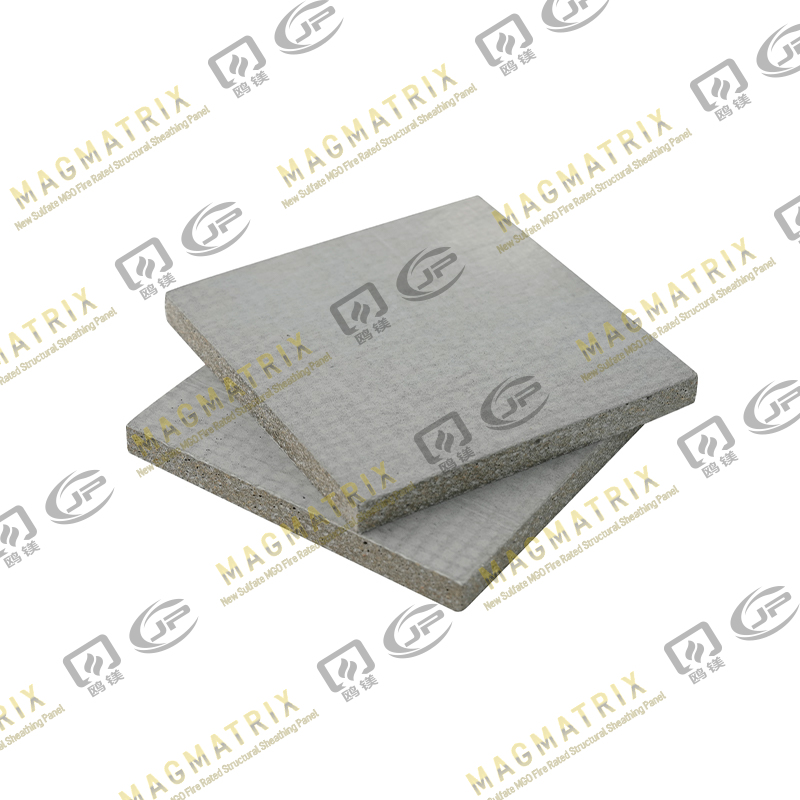 Multi-Support MgO Wall Sheathing Board
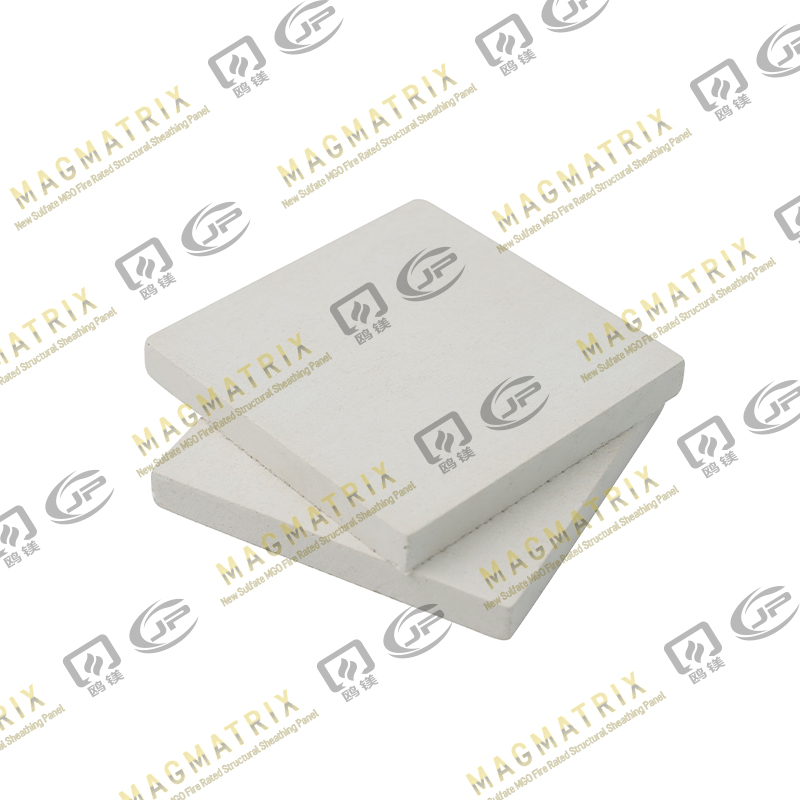 Perseverance MgO Wall Sheathing Board
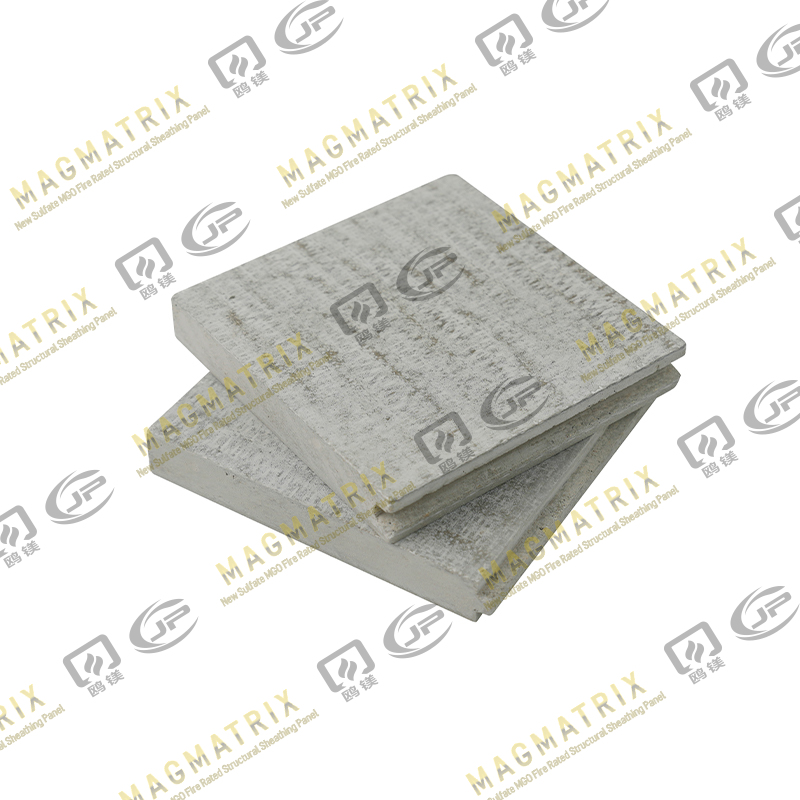 Multi-Support MgO Subfloor Sheathing Board
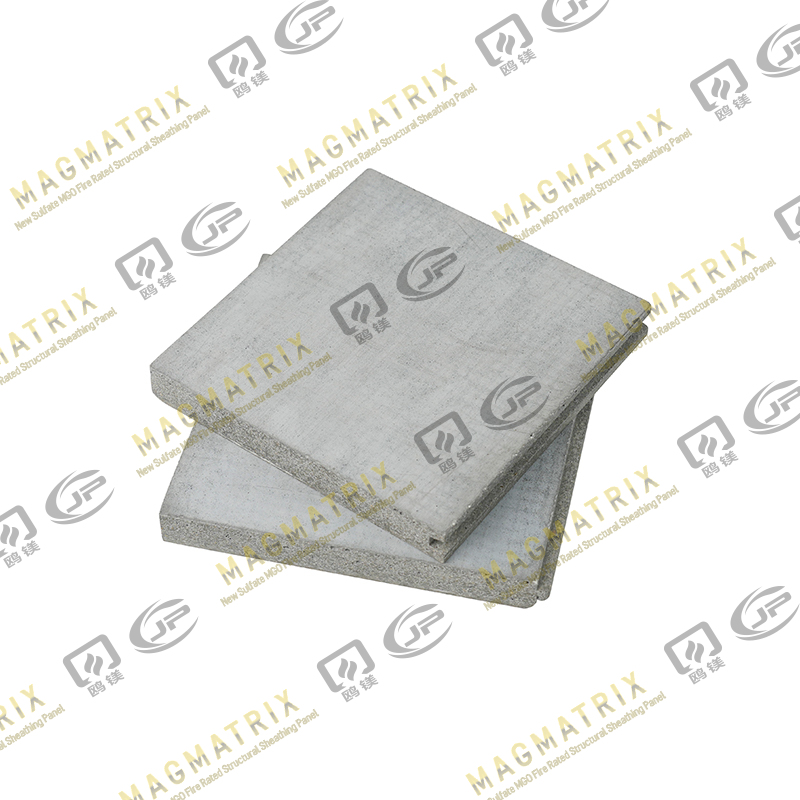 Perseverance MgO Subfloor Sheathing Board
 MagMatrix MgO Underlayment Panel/board
