This comprehensive guide provides a detailed, step-by-step approach to installing Magnesium Oxide (MgO) sheathing as a durable and high-performance flooring substrate. Discover the unique benefits of MgO board, including their fire, mold, and moisture resistance, as you learn about essential preparation techniques, proper panel placement, secure fastening methods, and crucial tips for achieving a professional and long-lasting floor. Ideal for both DIY enthusiasts and professionals, this article will equip you with the knowledge to confidently integrate MgO sheathing into your next flooring project.
Key Takeaways
- Superior Performance: Magnesium Oxide (MgO) sheathing offers exceptional fire, mold, mildew, and moisture resistance, making it a robust and healthier alternative to traditional sheathing materials for flooring applications.
- Proper Subfloor Preparation is Crucial: A level, clean, and dry subfloor is fundamental for a successful installation, ensuring panel stability and preventing future issues like squeaks or unevenness.
- Accurate Measurements & Layout: Precise marking of layout lines and careful panel placement are vital for minimizing waste, ensuring squareness, and creating a strong, continuous surface.
- Secure Fastening & Adhesive Application: Proper application of construction adhesive and correct fastening techniques (screws or nails) are essential for preventing panel movement, reducing noise, and maximizing the structural integrity of the floor.
- Staggered Joints & Expansion Gaps: Staggering panel joints enhances the floor’s strength and stability, while leaving appropriate expansion gaps around the perimeter and between panels is crucial for accommodating material movement and preventing buckling.
- Safety First: Always prioritize safety by wearing appropriate personal protective equipment (PPE) such as safety glasses, gloves, and hearing protection during the installation process.
Tools & Materials
Before you begin your MgO floor sheathing installation, gathering the right tools and materials is paramount. Having everything on hand will ensure a smooth, efficient, and safe process.
Essential Tools
A successful installation relies on having the correct equipment. Here’s a list of the essential tools you’ll need:
- Circular Saw or Track Saw: For precise, straight cuts on MgO panels. A track saw is highly recommended for long, accurate cuts.
- Jigsaw or Reciprocating Saw: For cutting curves, intricate shapes, or making cutouts for vents, pipes, or other obstructions.
- Tape Measure: For accurate measurements of panels and layout lines.
- Chalk Line: To snap straight lines on the subfloor for guiding panel placement and layout.
- Speed Square or Combination Square: For marking square cuts and verifying angles.
- Utility Knife: For scoring and snapping thinner MgO panels or for general cutting tasks.
- Drill/Driver (Cordless preferred): For driving screws efficiently and pre-drilling pilot holes if necessary, especially near panel edges to prevent chipping.
- Impact Driver (Optional but Recommended): Provides more torque for driving screws, especially longer ones, with less effort.
- Hammer: For occasional adjustments or for use with nail guns if opting for nails instead of screws.
- Caulking Gun: For applying construction adhesive.
- Pry Bar: For minor adjustments or removing incorrectly placed panels (use with caution to avoid damage).
- Broom and Dustpan/Shop-Vac: For cleaning the subfloor before installation and for general cleanup.
- Pencil or Marker: For marking cuts and layout lines.
- T-Square or Straight Edge: For guiding cuts with a circular saw.
Sheathing Types & Fasteners
Choosing the correct sheathing and fasteners is crucial for the longevity and performance of your floor.
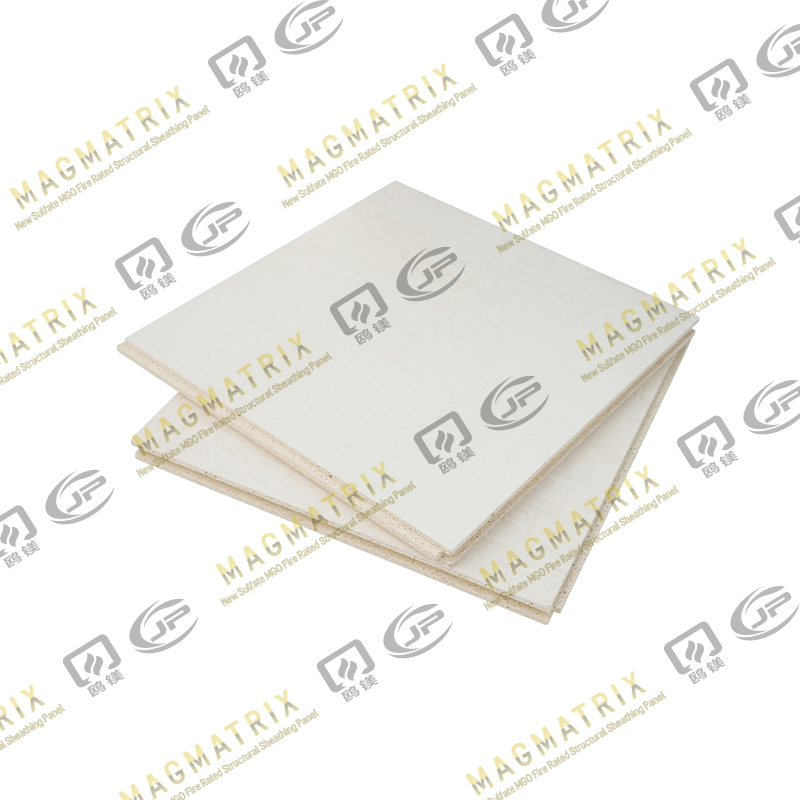
- Magnesium Oxide (MgO) Sheathing Boards:
- Thickness: Typically available in various thicknesses, with 1/2 inch or 5/8 inch being common for floor sheathing, depending on joist spacing and load requirements. Consult local building codes and manufacturer recommendations.
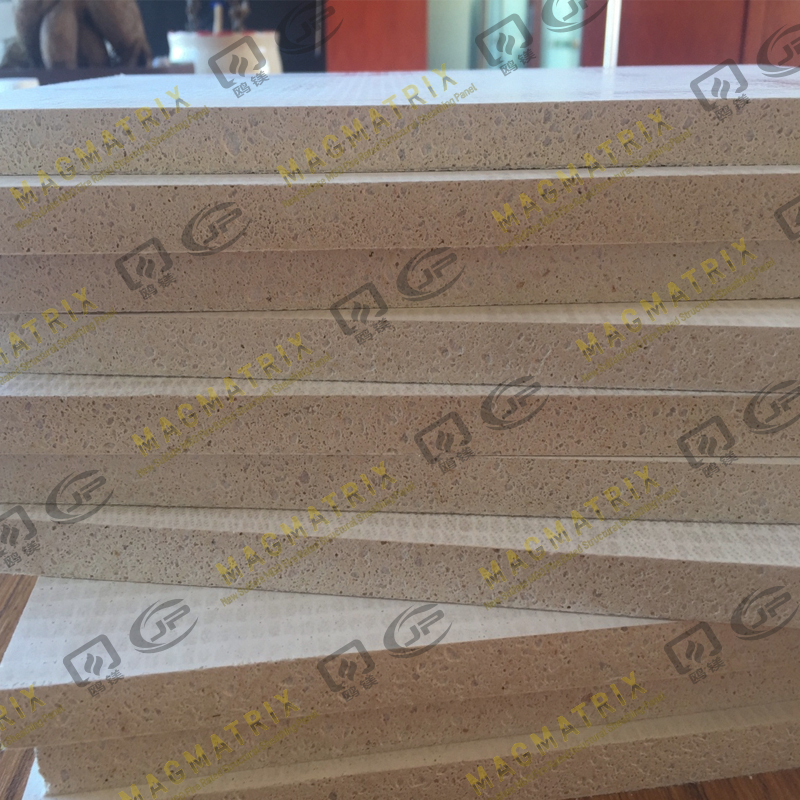
- Density/Grade: Ensure you select a high-density, structural grade MgO board suitable for flooring applications. Look for products specifically rated for subflooring or underlayment.
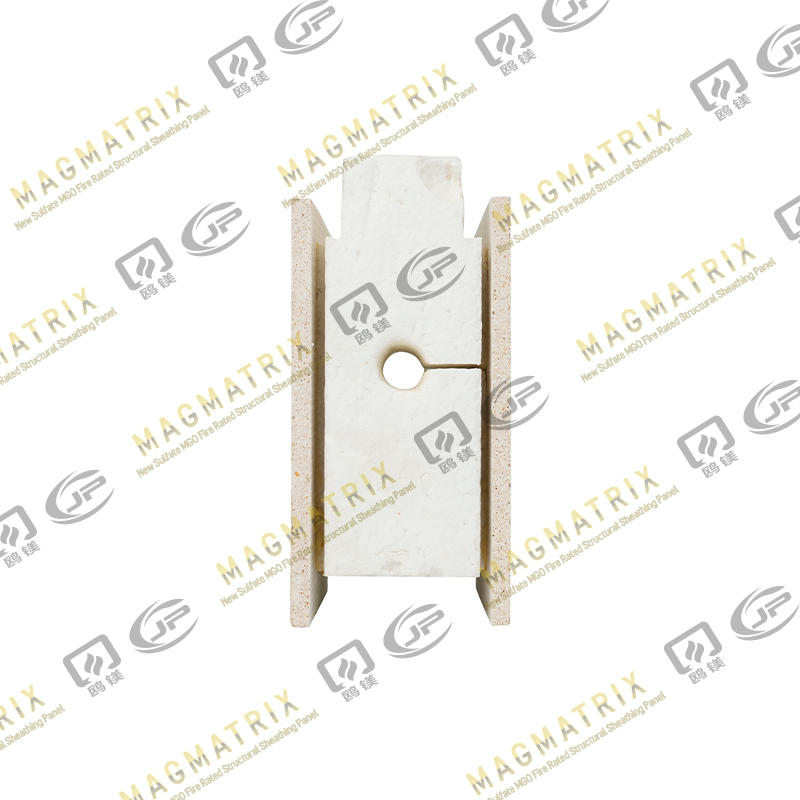
- Edge Profile: MgO boards may come with square edges or tongue-and-groove (T&G) edges. T&G offers a stronger, more seamless connection between panels, reducing deflection and potential squeaks.
- Construction Adhesive:
- Type: Use a high-quality, moisture-resistant subfloor adhesive specifically designed for bonding wood to wood, or wood to other substrates. Many adhesives are also rated for bonding to cementitious boards like MgO. Look for “subfloor adhesive” or “heavy-duty construction adhesive.”
- Application: Apply in continuous beads along joists and in a serpentine pattern between joists to create a strong bond between the MgO board and the framing.
- Fasteners:
- Screws (Recommended):
- Type: Coated screws specifically designed for subflooring or structural applications are ideal. Choose screws with a self-tapping or aggressive thread for better bite into the framing. Flat-head or bugle-head screws are typically used to sit flush with the panel surface.
- Length: Screws should penetrate the framing joist by at least 1 inch (2.5 cm). For example, with 1/2-inch MgO board, use screws at least 1 1/2 inches long.
- Corrosion Resistance: Given MgO’s potential interaction with moisture, consider screws with enhanced corrosion resistance, especially if the environment might be humid.
- Nails (Alternative):
- Type: 8d (2 1/2-inch) or 10d (3-inch) common nails or ring-shank nails are suitable. Ring-shank nails offer better withdrawal resistance, reducing the likelihood of squeaks.
- Application: Use a hammer or a pneumatic nailer. Nails should be driven flush or slightly below the surface (countersunk) to avoid interfering with finished flooring.
Safety Gear
Your safety should always be the top priority. Wear the following personal protective equipment (PPE) throughout the installation process:
- Safety Glasses or Goggles: Essential to protect your eyes from flying debris, dust, and potential splinters, especially when cutting or fastening.
- Work Gloves: To protect your hands from splinters, sharp edges of the boards, and general abrasion.
- Dust Mask or Respirator: MgO dust, like any fine particulate matter, can be an irritant. A dust mask is recommended when cutting, and a more robust respirator is advisable if working in a poorly ventilated area or for extended periods.
- Hearing Protection: Earmuffs or earplugs are necessary when using power tools like circular saws, which can generate significant noise levels.
- Knee Pads: Installing floor sheathing often involves extended periods of kneeling. Knee pads will provide comfort and prevent injury.
- Sturdy Work Boots: To protect your feet from dropped tools or materials and to provide good traction.
Floor Sheathing Preparation
Thorough preparation of your subfloor and framing is a critical step that lays the foundation for a stable, long-lasting, and squeak-free floor. Do not rush this stage, as imperfections here can lead to significant problems down the line.
Inspect & Level Framing
The structural integrity and flatness of your subfloor directly impact the final quality of your MgO sheathing installation.
- Inspect Joists and Beams: Begin by meticulously inspecting all floor joists, rim joists, and supporting beams. Look for any signs of damage, rot, water stains, insect infestation, or excessive bowing/crowning. Address any structural issues with repairs or reinforcement before proceeding.
- Check for Levelness and Flatness:
- High Spots: Use a long, straight edge (a 6-foot or 8-foot level is ideal) or a string line stretched across several joists to identify any high spots. Joists that are crowned (higher in the middle) can cause the sheathing to hump. These can often be shaved down with a power planer, careful not to compromise structural integrity.
- Low Spots: Identify low spots or dips in the framing. These can be shimmed up to bring them flush with adjacent joists. Use wood shims or strips of plywood/OSB securely fastened to the top of the joist.
- Twisted Joists: Twisted joists can create uneven surfaces. If severe, they may need to be straightened using blocking or strong-backs, or replaced.
- Secure Loose Joists: Ensure all joists are securely fastened to beams and headers. Tighten any loose connections with screws or nails to eliminate movement that could lead to squeaks.
- Add Blocking/Bridging (If Necessary): If your joist spacing is wide or if you’re concerned about bounce, consider adding blocking or bridging between joists. This perpendicular support helps to stiffen the floor system and distribute loads more evenly, reducing deflection.
Mark Layout Lines
Accurate layout lines are essential for efficient panel placement, minimizing cuts, and ensuring that fasteners hit the center of your framing members.
- Identify Starting Point: Typically, you’ll want to start laying panels in one corner of the room, working your way across. Consider the longest wall or the most visible area to determine your starting line.
- Snap Chalk Lines for Joists:
- Using a tape measure, locate the center of each floor joist.
- Snap a chalk line down the center of each joist along its entire length. These lines will serve as your guides for fastening the MgO panels, ensuring that your screws or nails hit the joist squarely.
- Snap Chalk Lines for Panel Edges (Optional but Recommended): For large rooms or complex layouts, it can be beneficial to snap additional chalk lines representing the edges of your first row of panels. This helps maintain a straight and square start.
- Mark Cut Lines: As you plan your panel cuts (dry-fitting is recommended), clearly mark all cut lines on the MgO boards with a pencil or marker. Double-check all measurements before making any cuts.
Dry & Clean Subfloor
A clean and dry surface is paramount for proper adhesive bonding and to prevent moisture-related issues.
- Ensure Dryness:
- Before bringing in MgO panels, verify that the existing subfloor (if applicable) and framing are completely dry. Moisture can lead to mold, mildew, and compromise the adhesive bond.
- If the area has been exposed to rain or high humidity, use a moisture meter to check the moisture content of the wood framing and subfloor. It should be within acceptable ranges (typically below 12-15%, consult local codes or manufacturer guidelines).
- Allow adequate time for drying, or use dehumidifiers and fans if necessary.
- Thorough Cleaning:
- Sweep and Vacuum: Use a broom and then a shop-vac to meticulously remove all dust, dirt, debris, sawdust, and small stones from the entire subfloor surface and between joists. Any particles trapped under the sheathing can create high spots or compromise the adhesive bond.
- Remove Protrusions: Inspect for any protruding nails, screws, staples, or hardened blobs of old adhesive. Remove or grind down any of these imperfections to ensure a completely flat surface.
- Clean Framing: Pay special attention to the top edges of the joists where the adhesive will be applied, ensuring they are free of any contaminants.
Floor Sheathing Installation
With your subfloor perfectly prepared, you’re ready to begin the exciting process of laying your Magnesium Oxide (MgO) sheathing. Precision in this stage ensures a strong, silent, and level base for your finished flooring.
Panel Placement
Strategic panel placement is key to minimizing cuts, optimizing material use, and ensuring a strong, continuous surface.
- Start in a Corner: Begin laying your first panel in a corner of the room, typically along the longest wall or the wall that will be most visible. This helps establish a straight baseline.
- Align with Layout Lines: Carefully align the first panel’s edge with the chalk line you snapped on the joist. Ensure the panel is square to your starting wall.
- Determine End Joist Support: Position the panel so that its ends land squarely on the center of a joist. If the panel is too long, you’ll need to cut it so that both ends are fully supported. The goal is for all panel edges to bear on framing members.
- Consider Future Panels: Think ahead to how subsequent panels will fit. If using tongue-and-groove (T&G) MgO boards, orient the first panel so that the tongue edge faces away from the wall, allowing the groove of the next panel to easily slide onto it.
Adhesive Application
Using subfloor adhesive is crucial for creating a strong bond between the MgO sheathing and the framing, significantly reducing the chance of squeaks and enhancing the floor’s rigidity.
- Apply to Joists: Before placing each panel, apply a continuous, generous bead of subfloor adhesive along the top of all joists that will support that particular panel. The bead should be about 3/8 inch to 1/2 inch thick.
- Serpentine Pattern (Between Joists): For panels that span multiple joists, it’s also advisable to apply a serpentine or zigzag bead of adhesive between the joists, directly on the underside of the MgO board where it will contact the existing subfloor (if applicable). This provides additional bonding and helps prevent delamination or movement.
- Avoid Over-Application: While a generous bead is good, avoid excessive application that could squeeze out too much and create a mess or make fastening difficult.
- Work in Sections: Apply adhesive just for the panel you are about to lay. Subfloor adhesive can skin over quickly, so don’t apply it to more joists than you can cover within a few minutes.
Fastening Panels
Proper fastening ensures the MgO panels are securely anchored to the framing, preventing movement and creating a solid subfloor.
- Fastener Type: Use the recommended screws (preferred for their superior holding power and squeak reduction) or nails suitable for subflooring and the thickness of your MgO board.
- Drill/Driver Settings: If using screws, set your drill/driver’s clutch or depth setting so that the screw heads are flush with or slightly countersunk below the surface of the MgO board, but not so deep that they break through the paper face or damage the board structure.
- Fastening Pattern:
- Edges: Fasten screws every 6 inches along all perimeter edges of the panel where it meets a joist or blocking.
- Field (Interior): Fasten screws every 10 to 12 inches along intermediate joists (those not at the panel edges).
- Tongue-and-Groove Joints: If using T&G panels and gluing the joints (recommended), additional fastening along the joint may be less critical, but still follow the general pattern.
- Start from One Side: Begin fastening from one edge of the panel and work your way across. This helps to pull the panel tight against the framing and expel any trapped air or adhesive.
- Avoid Over-Driving: Be careful not to over-drive screws or nails, as this can crush the MgO board, reducing its holding power and potentially creating a weak point.
Staggering Joints
Staggering the end joints of your MgO sheathing panels is a fundamental practice that dramatically increases the structural integrity and rigidity of your subfloor.
- Minimum Stagger: Never allow four panel corners to meet at one point. Ensure that successive rows of panels have their end joints offset by at least one joist space, ideally 2 feet or more.
- Pattern: A common and effective method is to start the first row with a full panel, the second row with a half panel, the third row with a full panel, and so on. This creates a strong, interlocking pattern similar to brickwork.
- Why Stagger? Staggering distributes stress across multiple joists, preventing a single weak line where panels meet. This significantly reduces deflection, minimizes squeaks, and makes for a more stable and durable floor.
Gaps & Edges
Proper gapping around the perimeter and between panels allows for natural expansion and contraction, preventing buckling and improving long-term performance.
- Perimeter Expansion Gap: Leave a 1/8 inch to 1/4 inch expansion gap between the edges of the MgO sheathing panels and all perimeter walls, posts, and any other fixed obstructions. This gap allows the sheathing to expand and contract with changes in temperature and humidity without buckling.
- Panel-to-Panel Gaps (Square Edge): If using square-edge MgO panels, leave a slight 1/8 inch gap between the edges of adjacent panels to allow for movement.
- Tongue-and-Groove (T&G) Joints: For T&G MgO panels, ensure the tongue fits snugly into the groove, but avoid forcing them together so tightly that they create stress points. If you apply a bead of construction adhesive in the groove before joining, it will further strengthen the connection. No separate expansion gap is typically needed between T&G panels, as the joint itself allows for some movement.
- Support for All Edges: Ensure that all panel edges, including those at walls and where panels meet, are fully supported by framing members or solid blocking. No unsupported edges should exist in the field of the floor.
Tips & Safety
Beyond the step-by-step process, incorporating best practices and maintaining a safety-conscious approach will significantly improve your installation experience and the final quality of your MgO floor.
Prevent Squeaks
Squeaky floors are a common nuisance. Here’s how to minimize them when installing MgO sheathing:
- Generous Adhesive Application: This is your primary defense against squeaks. Ensure a continuous, strong bead of subfloor adhesive is applied to all joists and blocking that will come into contact with the MgO panels. The adhesive creates a solid bond that prevents the sheathing from rubbing against the framing.
- Use Screws, Not Just Nails: While nails can hold, screws provide superior withdrawal resistance, meaning they are far less likely to back out over time and cause squeaks. Use the recommended screw type and length, driving them flush or slightly countersunk.
- Hit the Center of Joists: Ensure all fasteners penetrate the center of the joists. Fasteners driven too close to the edge of a joist may not hold as well and can loosen, leading to squeaks. Your chalk lines are critical here.
- Flat and Level Framing: As discussed in preparation, any unevenness in the joists can cause the sheathing to flex and rub. Taking the time to level and shim joists properly will pay off immensely in preventing future noise.
- Avoid Over-Driving Fasteners: Over-driving screws or nails can crush the sheathing material around the fastener, reducing its holding power and creating a void that allows movement and potential squeaks.
- Tongue-and-Groove Joints (with Adhesive): If using T&G MgO boards, apply a thin bead of construction adhesive to the groove before joining. This creates a stronger, more rigid connection between panels, further reducing movement and noise.
Teamwork
While it’s possible to install floor sheathing alone, having a helper can make the process much safer, faster, and more efficient, especially with larger MgO panels.
- Lifting and Positioning Large Panels: MgO boards, especially thicker ones, can be heavy and awkward to maneuver. A second person makes lifting, carrying, and accurately positioning panels much easier and reduces the risk of back strain or dropping the material.
- Holding Panels Square: When aligning a panel, a helper can hold one end square to your layout lines while you adjust the other end or begin fastening.
- Adhesive Application and Fastening: One person can apply the adhesive while the other positions the panel and begins fastening, streamlining the workflow.
- Safety: Two sets of hands are always safer when working with power tools and heavy materials. A helper can assist with safely moving tools or clearing debris.
Common Mistakes
Being aware of common pitfalls can help you avoid costly errors and ensure a successful installation.
- Inadequate Subfloor Preparation: Rushing the leveling and cleaning steps is a recipe for disaster. Uneven surfaces lead to squeaks, humps, and difficulty installing finished flooring. Dirty surfaces compromise adhesive bonds.
- Not Using Enough Adhesive (or the Wrong Type): Skimping on adhesive or using a general-purpose glue instead of a dedicated subfloor adhesive will drastically increase the likelihood of squeaks and reduce the overall rigidity of the floor.
- Improper Fastening: Insufficient fasteners, incorrect spacing, or over/under-driving them can lead to loose panels, squeaks, and reduced structural integrity. Always follow manufacturer recommendations for fastener type and spacing.
- Lack of Expansion Gaps: Failing to leave appropriate gaps around the perimeter and between square-edge panels can cause the MgO sheathing to buckle or warp as it expands and contracts with environmental changes.
- Not Staggering Joints: Laying panels with continuous end joints across multiple rows creates weak lines in the floor that are prone to movement and squeaks. Always stagger your joints.
- Ignoring Local Building Codes: Building codes often specify minimum sheathing thickness, fastener types, and spacing based on joist span and intended use. Always consult and adhere to your local building regulations.
- Working on a Wet or Damp Subfloor: Installing MgO sheathing over a moist subfloor or framing can trap moisture, leading to mold growth, degradation of the wood, and compromised adhesive bonds. Ensure everything is thoroughly dry.
Final Checks
Once all the Magnesium Oxide (MgO) sheathing panels are installed, taking the time for thorough final checks is essential. This last inspection ensures the quality of your work and prepares the subfloor for the next stage of your flooring project.
Inspect Fasteners
A meticulous review of every fastener ensures maximum holding power and a smooth surface.
- Visual Scan: Walk over the entire installed area and visually inspect every screw or nail head.
- Flush or Countersunk: Confirm that all fastener heads are either flush with the surface of the MgO board or slightly countersunk. Protruding fastener heads will create bumps in your finished flooring and could lead to premature wear or damage.
- Address Protrusions: If you find any protruding screw heads, use your drill/driver to re-drive them until they are flush or slightly below the surface. For nails, use a nail set and hammer to countersink them.
- Check for Over-Driven Fasteners: Look for any areas where fasteners have been driven too deeply, crushing or breaking the surface of the MgO board. While minor cosmetic damage might be acceptable, significant crushing can compromise the board’s integrity. For severely damaged areas, consider adding an additional fastener nearby.
- Ensure Adequate Fastening: Confirm that the proper fastening pattern (6 inches on edges, 10-12 inches in the field) has been consistently followed across all panels. Add any missing fasteners.
Check Seams & Gaps
The quality of your seams and the presence of appropriate gaps are critical for the long-term performance and appearance of your floor.
- Examine All Joints: Carefully inspect every seam where two MgO panels meet.
- Flatness: Run your hand or a straightedge across the joints to feel for any lips or unevenness between adjacent panels. Minor variations can often be addressed with light sanding, but significant discrepancies might indicate an issue with the underlying framing or improper panel alignment.
- Tightness (T&G): If using tongue-and-groove boards, ensure the joints are tightly connected without large gaps, indicating a secure fit.
- Gapping (Square Edge): If using square-edge panels, verify that the deliberate 1/8-inch expansion gap is consistent between panels.
- Perimeter Expansion Gaps: Re-check the 1/8 inch to 1/4 inch expansion gap along all walls and around any permanent obstructions. Ensure these gaps are clear of debris. These gaps are essential for allowing the floor to expand and contract without buckling.
- Unsupported Edges: Confirm that no panel edges (either end joints or long edges) are left unsupported between joists. Every edge should rest squarely on a framing member or blocking. Add blocking if any unsupported edges are found.
Cleanup
A clean worksite is a safe worksite, and preparing the subfloor for the next phase of construction is crucial.
- Remove All Debris: Thoroughly sweep and vacuum the entire installed MgO sheathing surface. Collect all sawdust, off-cuts, fasteners, and other construction debris.
- Inspect for Dust/Dirt: Ensure the surface is completely free of dust and dirt, especially if you plan to apply a finish underlayment or glue down a final floor covering. Any remaining particles can compromise adhesive bonds or create imperfections.
- Dispose of Waste Properly: Collect all MgO sheathing scraps and dispose of them according to local waste disposal regulations. MgO is generally safe, but some areas may have specific requirements for construction debris.
- Tool Maintenance: Clean your tools, especially power saws and drills, removing any dust or adhesive residue. Store them properly for future use.
FAQ
What is the best way to cut floor sheathing panels?
The best way to cut floor sheathing panels, including Magnesium Oxide (MgO) boards, depends on the type of cut and the tools available:
- For Straight Cuts (Recommended): A circular saw or, even better, a track saw is ideal for making precise, straight cuts.
- Circular Saw: Use a fine-tooth carbide-tipped blade for clean cuts on MgO. Place the panel on sawhorses or a stable surface with sacrificial material underneath to protect your work surface and allow the blade to cut through. Use a straightedge or T-square as a guide for accuracy.
- Track Saw: A track saw offers superior precision and dust collection, making it excellent for long, accurate cuts and minimizing cleanup.
- For Curved or Irregular Cuts: A jigsaw or reciprocating saw is suitable for cutting curves, notches, or around obstacles like pipes or vents. Use appropriate blades for dense materials.
- Scoring and Snapping (for thinner panels): For thinner MgO panels (e.g., 1/4 inch or 3/8 inch), you might be able to score the panel deeply with a utility knife along a straightedge and then snap it cleanly along the score line. This method is less common for structural floor sheathing thicknesses (1/2 inch or 5/8 inch).
Important Note for MgO: Always wear a dust mask or respirator when cutting MgO boards, as the dust can be fine and irritating. Also, ensure good ventilation.
How do you keep floor sheathing from squeaking?
Preventing squeaks is a primary goal when installing floor sheathing. Key strategies include:
- Subfloor Adhesive: This is the most crucial step. Apply a continuous, generous bead of high-quality subfloor adhesive to the top of all joists and blocking where the sheathing will rest. This strong bond eliminates friction between the sheathing and the framing, which is the primary cause of squeaks.
- Screws Over Nails: Use screws designed for subflooring. Screws provide superior holding power and are less prone to backing out over time compared to nails, thus maintaining a tighter connection and preventing movement that leads to squeaks.
- Proper Fastener Spacing: Follow the recommended fastener spacing (e.g., every 6 inches on edges, 10-12 inches in the field) to ensure the sheathing is securely held down across its entire surface.
- Level and Flat Framing: Thoroughly inspect and level your floor joists. Uneven joists can cause the sheathing to flex and rub, leading to squeaks. Shim low spots and plane down high spots as needed.
- Staggered Joints: Ensure all panel end joints are properly staggered (offset) to distribute stress across multiple joists, enhancing rigidity and reducing the potential for movement.
- Glue Tongue-and-Groove Joints (if applicable): If using T&G MgO panels, apply a thin bead of construction adhesive in the groove before fitting the tongue. This creates a stronger, more rigid connection between panels themselves.
Can you install floor sheathing alone?
Yes, it is possible to install floor sheathing alone, especially for smaller rooms or if you are experienced. However, it is significantly easier, safer, and more efficient with a helper, particularly when working with:
- Large or Heavy Panels: MgO boards, especially thicker ones, can be cumbersome. A second person makes lifting, carrying, and positioning panels much simpler and reduces the risk of injury.
- Long Cuts: A helper can support the off-cut piece during long saw cuts.
- Maintaining Alignment: One person can hold a panel in perfect alignment while the other starts fastening.
If you are working alone, you might need to use clamps, temporary bracing, or specialized panel movers to help position and hold the sheathing in place before fastening. Always prioritize safety over speed.
Should you glue tongue-and-groove joints?
Yes, it is highly recommended to glue tongue-and-groove (T&G) joints when installing floor sheathing, including MgO boards.
- Increased Rigidity: Gluing the T&G joints creates a more unified, monolithic subfloor. This significantly increases the overall stiffness and rigidity of the floor system.
- Reduced Squeaks: By bonding the adjacent panels together at the joints, you virtually eliminate any potential for movement or rubbing between the panels themselves, which is a common source of squeaks.
- Enhanced Strength: The adhesive bond reinforces the mechanical connection of the T&G, distributing loads more effectively across the floor and improving its structural performance.
Apply a continuous, thin bead of construction adhesive into the groove of the panel before fitting the tongue of the next panel into it. Wipe away any excess squeeze-out immediately.
What should you do if it rains before you finish?
If rain is forecasted or occurs before your MgO floor sheathing installation is complete and protected, take immediate action to prevent moisture damage:
- Cover the Area: The most critical step is to cover the exposed sheathing and framing with heavy-duty tarps or plastic sheeting. Secure the covers tightly with ropes, weights, or battens to prevent wind from blowing them off and to ensure water runs off, not collects.
- Protect Edges: Pay special attention to the edges of the installed sheathing and any open ends of joists, as these are highly susceptible to absorbing moisture.
- Ventilation (After Rain): Once the rain stops, and before continuing work, remove the covers. Allow the area to air dry thoroughly. If possible, use fans or dehumidifiers to accelerate the drying process, especially if the framing or sheathing got wet.
- Inspect for Damage: Once dry, inspect all wood framing and MgO sheathing for any signs of water damage, such as swelling, warping, staining, or mold growth. Address any issues before proceeding. MgO boards are highly moisture-resistant, but prolonged exposure to standing water should still be avoided.
- Do Not Install on Wet Surfaces: Never install new sheathing over wet framing or existing wet sheathing. Trapped moisture can lead to long-term problems like rot, mold, and compromised adhesive bonds.


 English
 русский
 Español
 BMSC 517 New Sulfate MgO Board
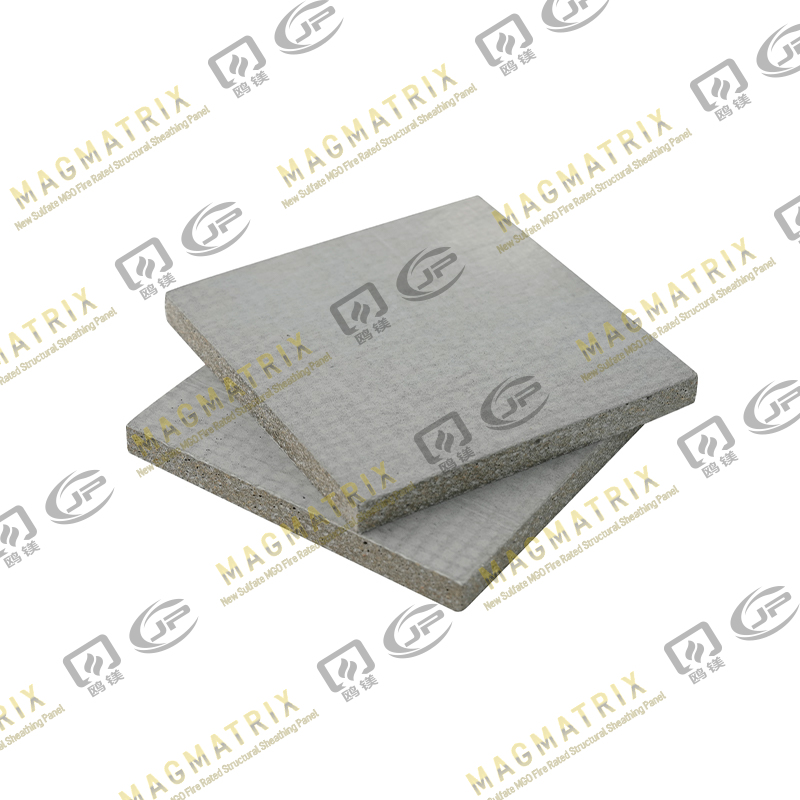 Multi-Support MgO Wall Sheathing Board
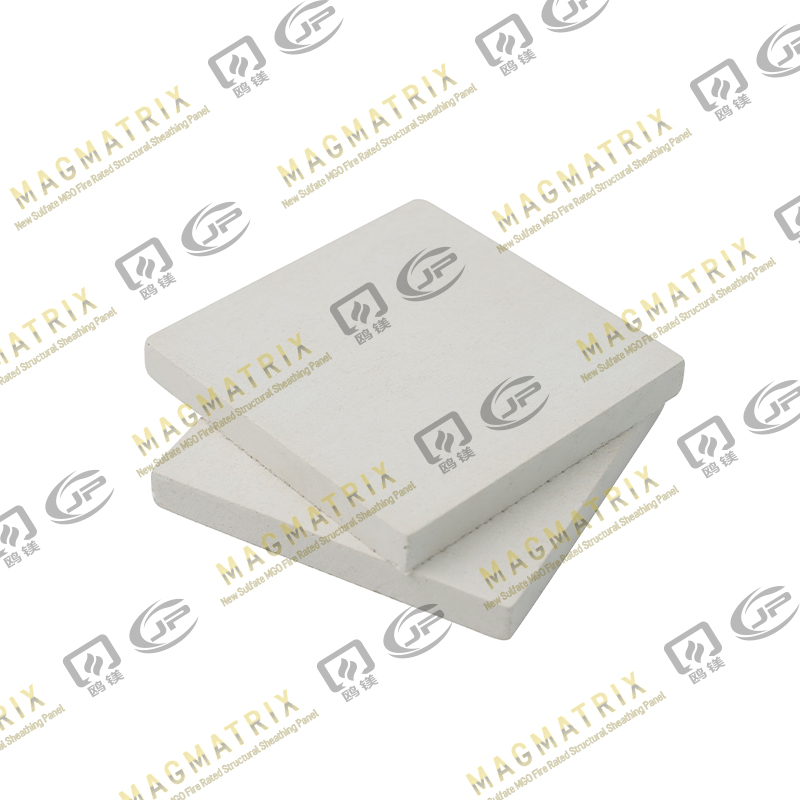 Perseverance MgO Wall Sheathing Board
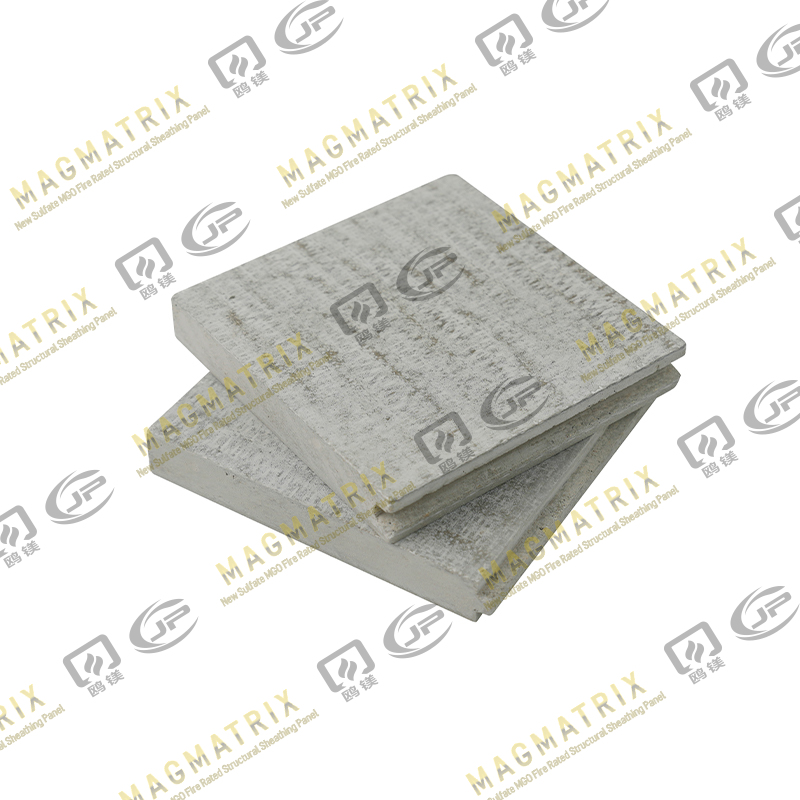 Multi-Support MgO Subfloor Sheathing Board
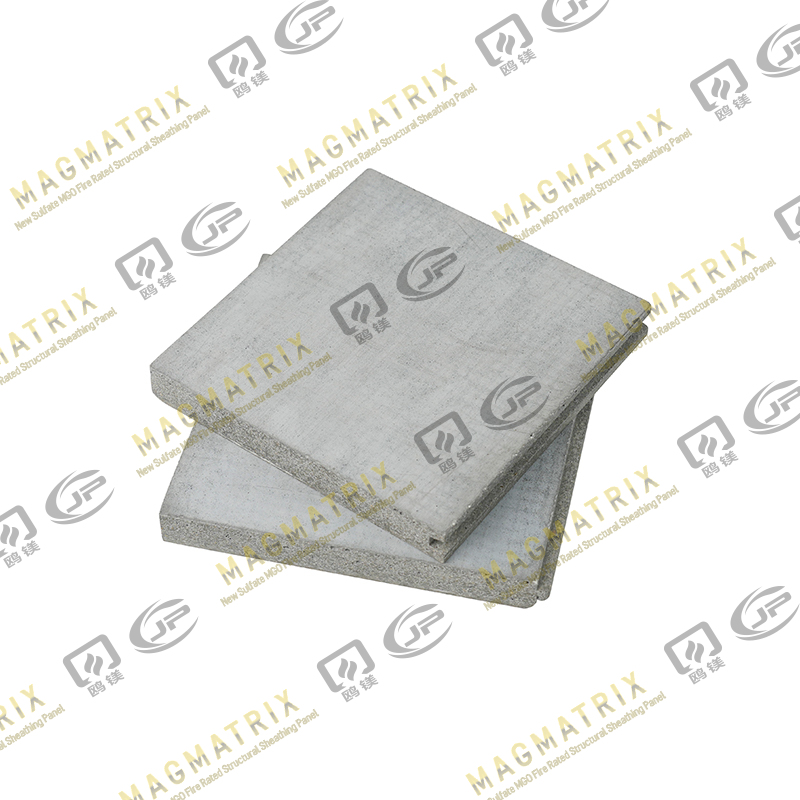 Perseverance MgO Subfloor Sheathing Board
 MagMatrix MgO Underlayment Panel/board
